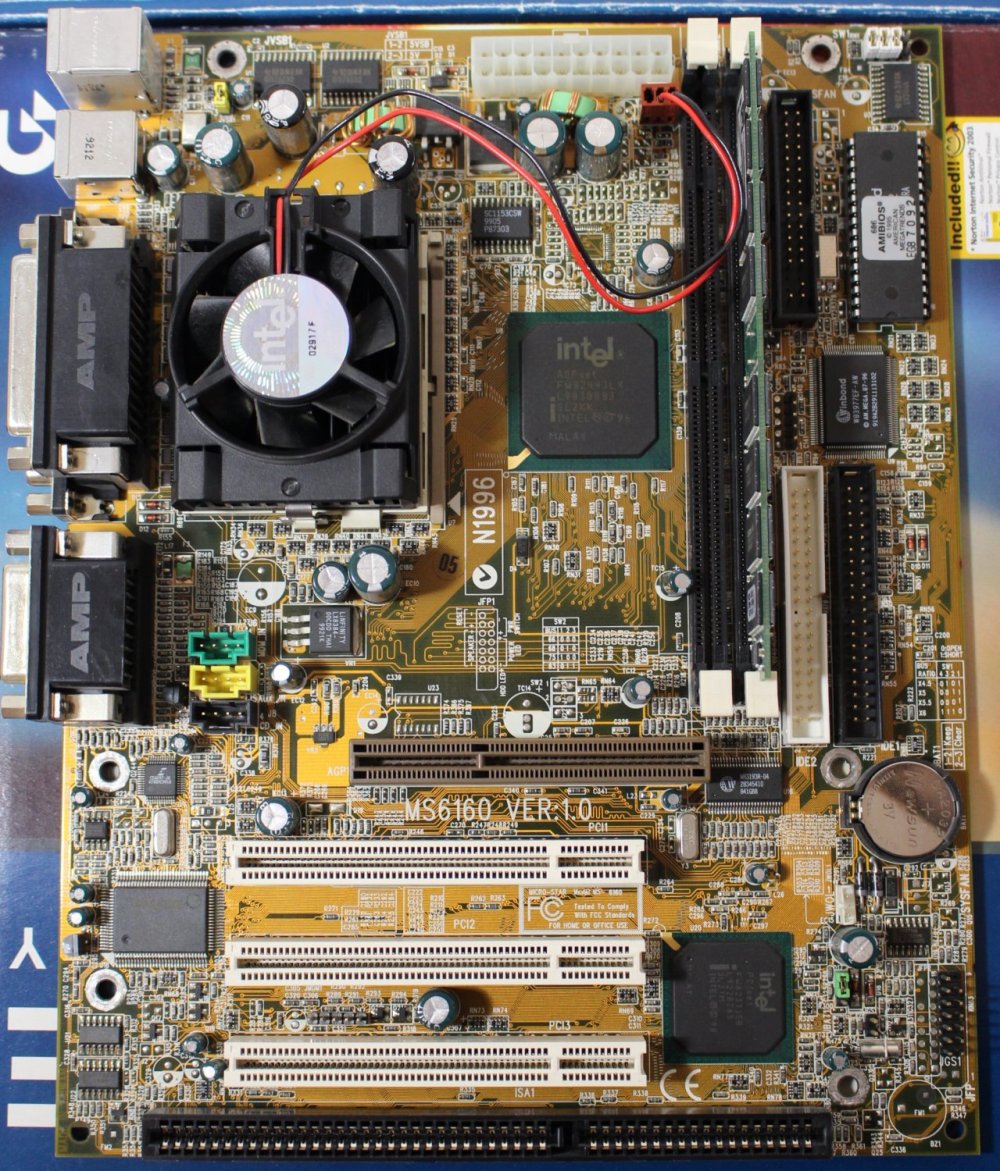
I’ve been using the MS-6160 for some time now in a Windows 98/DOS retro gaming rig. Although it was a budget motherboard originally, it ticks many of the right boxes for use as a retro rig. Unfortunately, the stock MS-6160 BIOS has very few options and is missing some key features for this purpose. For example, you can’t disable the onboard audio or disable the L2 cache for speed sensitive games.
There are actually two BIOS types out there for the MS-6160 – both an AMI and an Award BIOS. My board came with the AMI version, but I’ve used both. In my experience, the Award BIOS for this board is buggy and DMA mode for IDE doesn’t work properly. In the Award version you can disable the onboard audio, but I couldn’t get past the other problems the BIOS introduced. That’s when I decided to try my hand at BIOS modification. I say “modification” but in reality, I’ve just unlocked numerous hidden options available in the AMI code. I did this using the AMIBCP tool to modify and re-write the 256K binary.
Modifications
There are several options I’ve enabled in this modified AMI BIOS for the MS-6160. Below are some of them:
- Onboard audio can now be enabled/disabled. Ideal for anyone using a proper ISA sound card.
- CPU L2 cache can be disabled for speed sensitive games.
- Overclocking! FSB frequency can now be changed between 66MHz/75MHz/83MHz.
- IRQ options have been added to the PCI/Plug and Play menu. This allows setting between ISA and PCI/PNP.
- Some basic options have been added to the other menus.
Everything I’ve enabled appears to be functional. The most important bit for me – disabling the onboard audio – works perfectly. I no longer have resource conflicts with the Joystick port and other issues with my Sound Blaster 16. Overclocking is also functional. My Celeron 533 can run at 600MHz with a 75MHz FSB without issue, but obviously your mileage may vary. Unfortunately, the 32GB HDD limitation remains in this modified BIOS.
Flashing Process
***Disclaimer***: Flashing your BIOS is an inherently risky procedure – especially on 20+ year old hardware. I make no guarantees. Use this custom BIOS, files provided and set of instructions at your own risk!
If you read my post on the MS-6160 a while back, you’ll see that I almost bricked the board using an older Award flashing tool. I’d strongly recommend using only the newer AMI82734.EXE flashing utility with this board. I’ve had numerous successful flashes using it. It is included in the ZIP file. My MS-6160 board is hardware revision 1.0. I have not tried this on other hardware revisions, nor have I tried this on a board that came pre-loaded with the Award BIOS. I have no reason to believe this won’t work on all MS-6160s, but please proceed at your own risk!
The ZIP archive contains the following:
VS06160.BIN    - The modified AMI BIOS file
OLDAMI.BIN     - The original A61601 V1.2B1 BIOS
AMI82734.EXE   - AMI BIOS flashing utility
README.TXT     - Instructions
I’d recommend verifying the MD5 hash on the BIOS BIN files before flashing just to make sure they weren’t corrupted in transit. They are provided below:
79d0c6b791ce7fe4847c82d4462107bf    oldami.bin
1ca678141328b4dc3ff37c4d0b8315f7    vs06160.bin
You can download the ZIP file here: VS06160.ZIP
- Create a bootable floppy disk and copy all files in the ZIP archive to it. Alternatively, copy the files to a hard drive running DOS. Do not try to flash from Windows. There are numerous resources online that can help you with this step.
- Once you are booted into DOS, run the AMI82734.EXE utility.
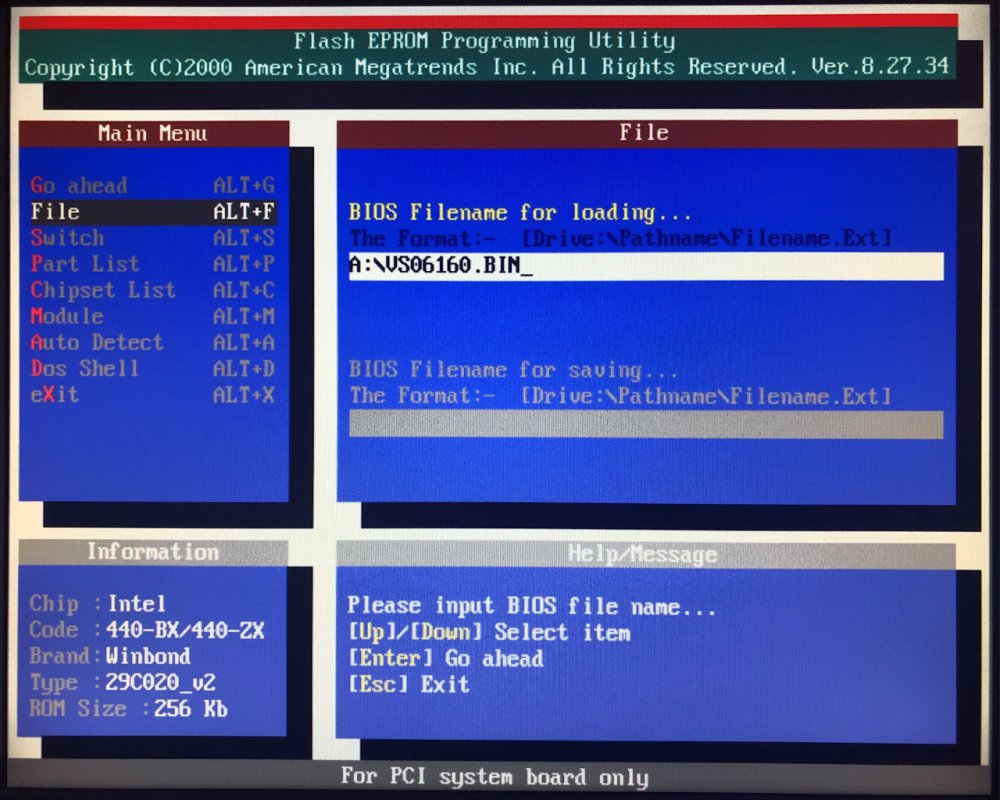
- From the main menu, navigate to the File menu (ALT+F)
- Backup your current BIOS in case you want to flash back. Simply enter a path and filename in the “BIOS Filename for saving…” text box. I.e. A:\OLDBIOS.BIN and then hit Enter. Ensure you keep the file somewhere safe in case you need it.
- Once finished, enter the path to the VS06160.BIN modified BIOS in the “BIOS Filename for loading…” text box. I.e. A:\VS06160.BIN if using a floppy. Then hit Enter.
- You’ll be greeted by a warning prompt “Are you sure to write this BIOS into flash ROM?” Hit Enter to continue.
Important: Do NOT interrupt the process or shut down the PC if the process fails. If it does fail, repeat the above steps to flash the original BIOS you backed up.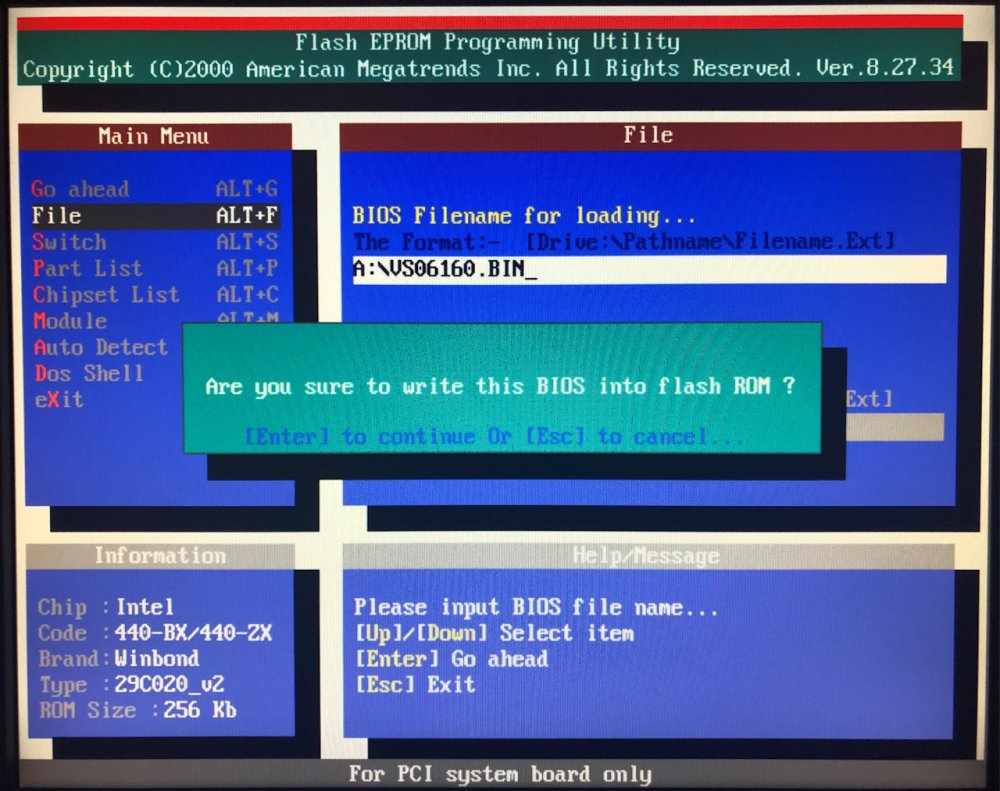
- If the flash was successful, you’ll get a message saying “Flash ROM Update Completed – Pass.”. Hit Enter to continue.
- Quit the flash utility by hitting ESC and then ALT+X and return to the DOS prompt.
- Once back at the DOS prompt, power off the PC and then turn it back on again.
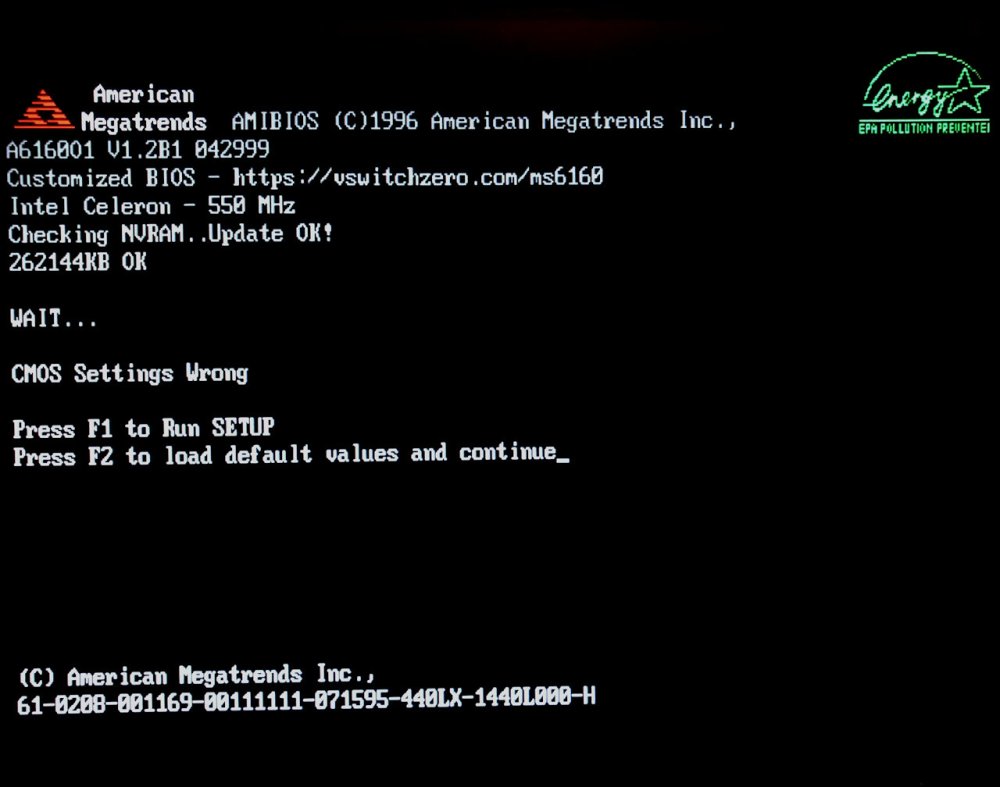
- When the machine starts posting, you’ll notice a new text string to the URL of this article at the top of the screen. You’ll likely get a warning stating “CMOS Settings Wrong”. This is normal and expected because additional options were added to the BIOS. Hit F1 to enter SETUP. If you don’t get this error, press DEL to enter SETUP anyway.
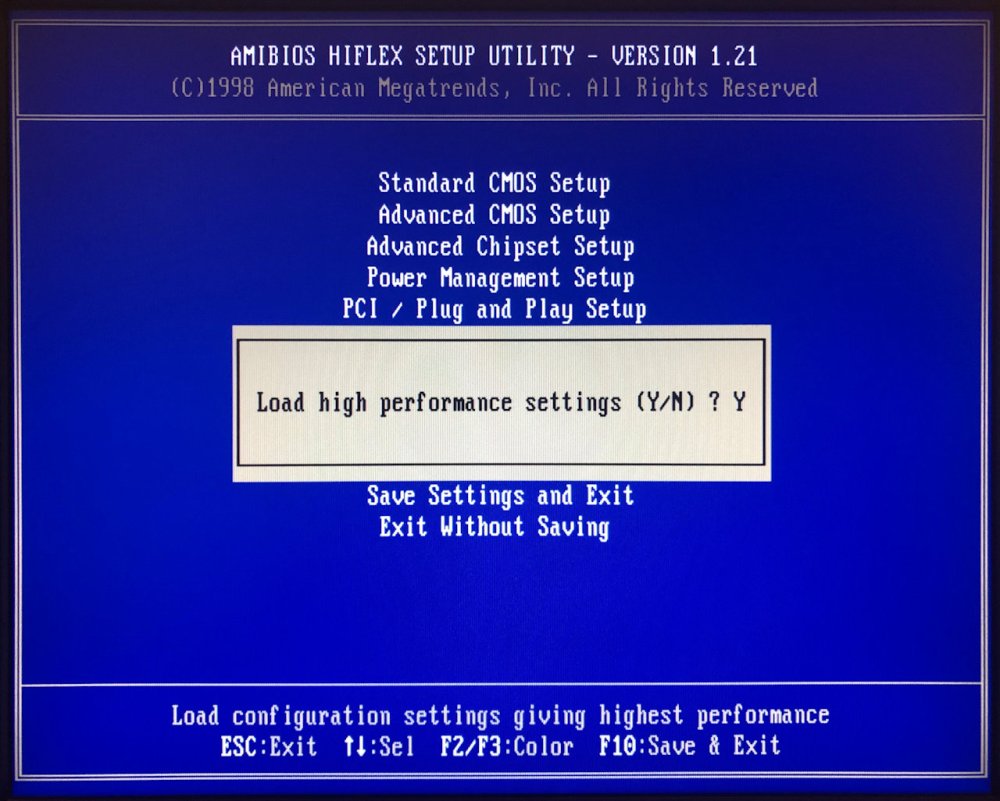
- Once there, you’ll need to “Load Optimized Defaults” and then “Save Settings and Exit“.
- This time around, you won’t get the “CMOS Settings Wrong” error and you can hit DEL to enter the BIOS. That’s it!
Hope you find this modified BIOS useful. The MS-6160 can be a very capable retro board with just some minor tweaking.
Images
Here are some images of changes, including a screenshot of my Celeron 533 running at 600MHz on the MS-6160.


I just run into the BIOS flash problem the other day, since I do not have access to floppy disks. I recommend usring the flashrom utility to flash the BIOS files under linux, there is no version check, so be careful. You can use live ubuntu cd(preferably older release) to flash the BIOS file stored in USB flash drive.