In my previous post, I got the hardware all setup on the DS1621+ test unit that Synology was gracious enough to loan me. Today, I’ll be doing some of the initial storage configuration in preparation for getting iSCSI configured for use in my vSphere lab.
But first, I’ll need to get some flash storage added to the NAS.
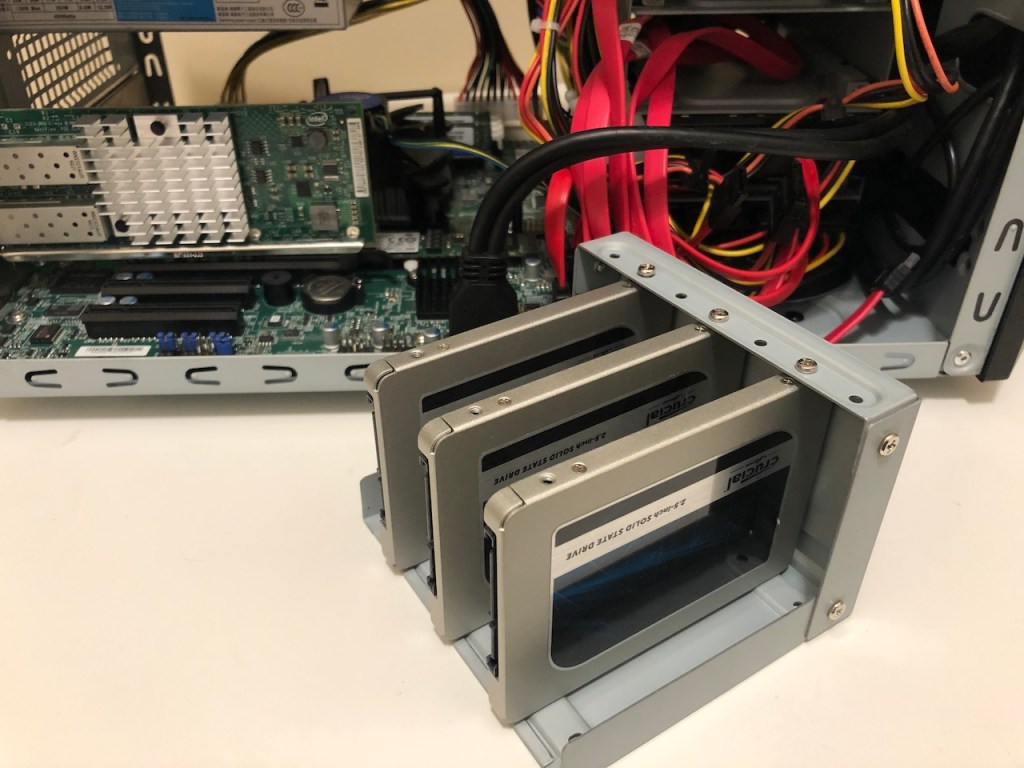
I’ve got three Crucial MX500 1TB drives that I’ll be removing from my TrueNAS box for testing in the DS1621+. Although they are getting a bit dated, they are still solid performing SATA SSDs. Don’t forget to properly remove your LUNs/Datastores!
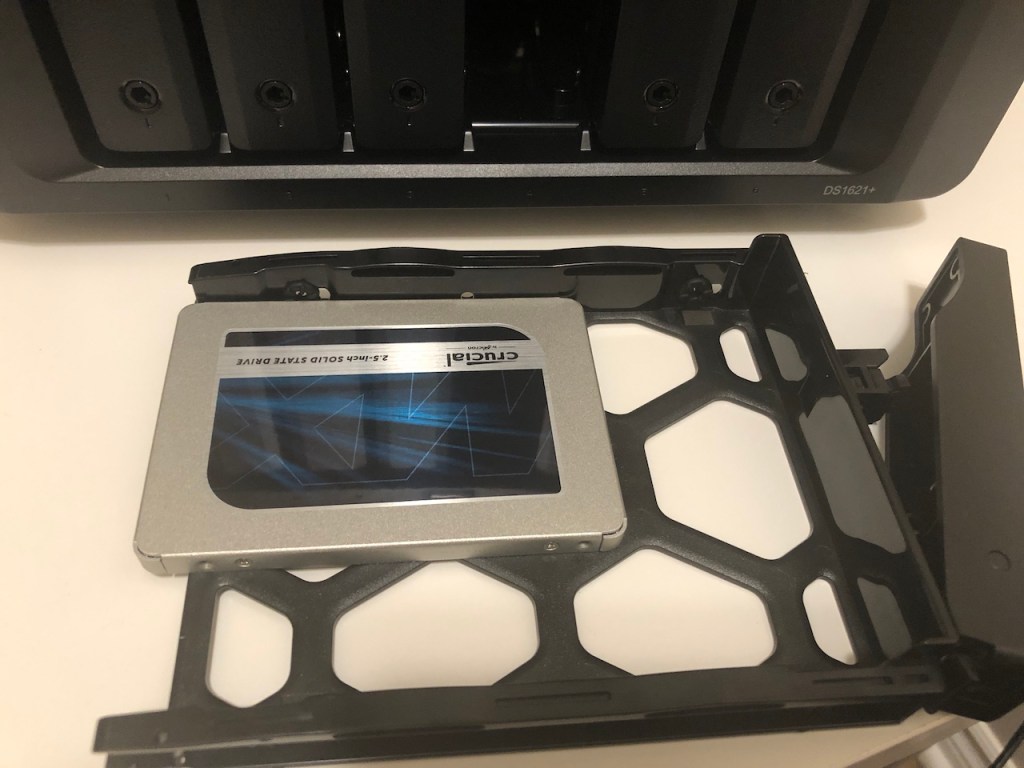
Installing the 2.5-inch drives is an easy job. Four small screws attach to the back of each sled and hold the drives in the correct position.
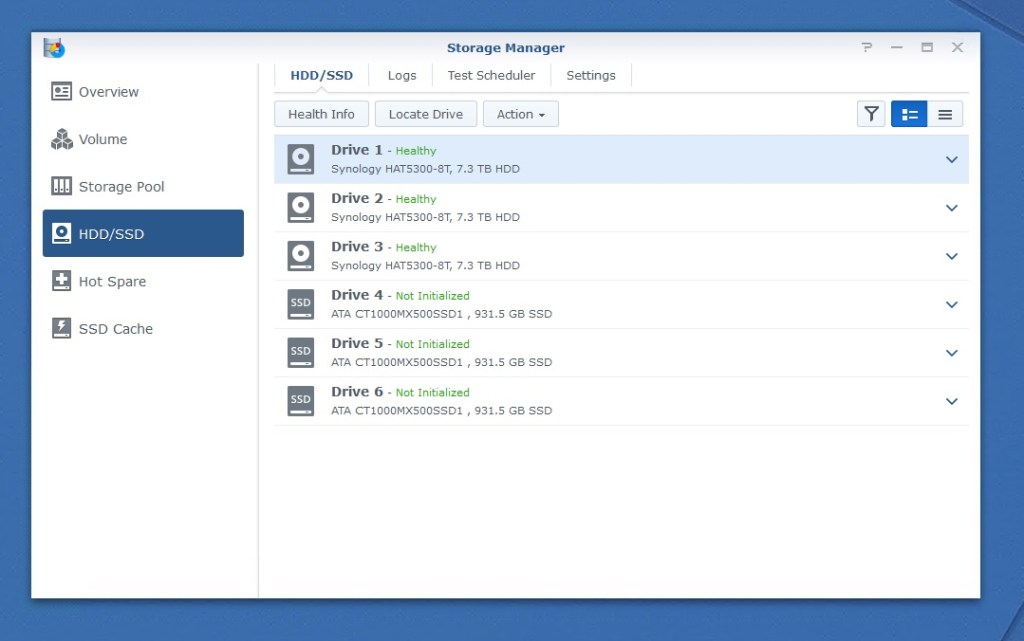
With all six drive bays populated, we’re ready to begin getting the storage prepared for use on the DS1621+.
Creating Storage Pools
The first thing that needs to be done before you can use the drives is to create one or more storage pools. This is where you group disks and apply a RAID level to them. When clicking the Create button, you’ll be greeted by the storage pool creation wizard.
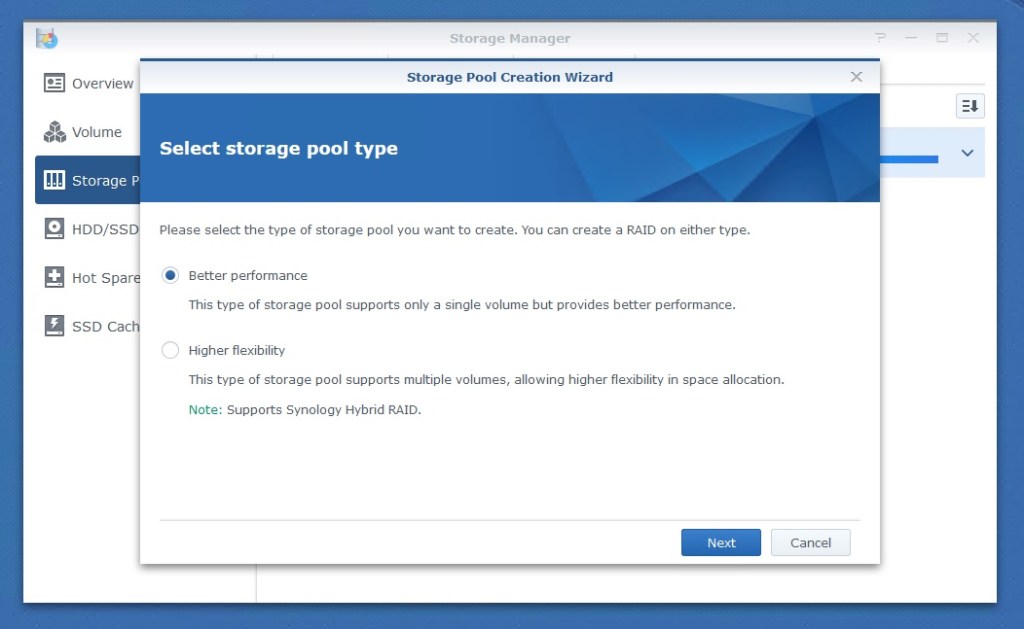
You’ll first be prompted to use classic RAID levels or to use Synology’s Hybrid Raid or SHR. SHR makes the creation of a pool easier, but its best feature is the ability to make use of all disk space when disks of different sizes are in the pool. Traditional RAID levels can waste a lot of space in this type of situation. It is great for beginners, but we’ll stick with the classic RAID-levels.

I went ahead with the “Better Performance” option and will use RAID 5 for the mechanical drives and RAID 0 for the SSDs. I plan to store backups and important stuff on the mechanical drives so need some redundancy there. I’m using RAID-0 with no redundancy for the SSDs as I want maximum capacity and the highest possible performance and won’t be bothered if I lose the pool.
IMPORTANT: You should never use RAID 0 for a pool/volume with important data on it. If a single drive in the pool dies, you’ll lose the entire pool. You should always use a RAID level with redundancy (RAID 1, RAID 5 etc) in a production setup – or if your data is at all important to you!

Simply select the disks you want to add to the pool. You’ll be prompted if you want to do disk checks before proceeding. This is definitely a good idea as it’ll save you time and trouble later on if one of your disks was bad from the get-go.
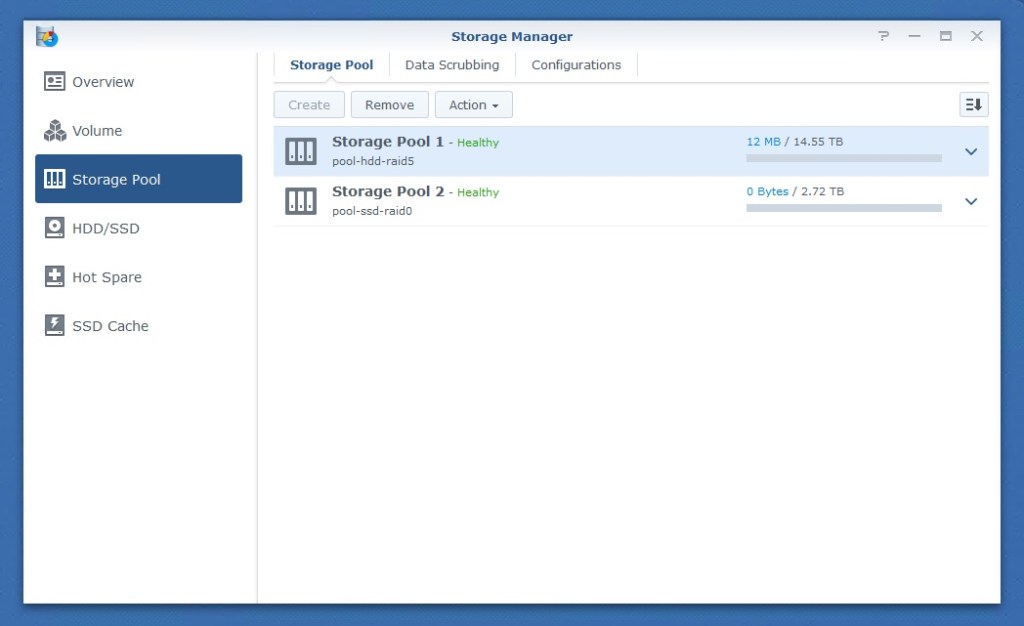
I now have two separate storage pools with two different RAID levels configured. These two pools will be used for very different purposes, which their RAID configuration and drive types are suited to. I plan to store and run VMs from the SSD array and use the mechanical drive array for static storage, backups and lower performance VMs.
Note: The RAID-5 array will take a long time to build – several hours in my case. You should let it finish before using the pool or you may see performance degradation.
Creating Volumes
Now that the pools are created, we need to create volumes. You can think of the pools as the underlying drive groupings and RAID configuration and the volumes as the filesystems sitting on top.
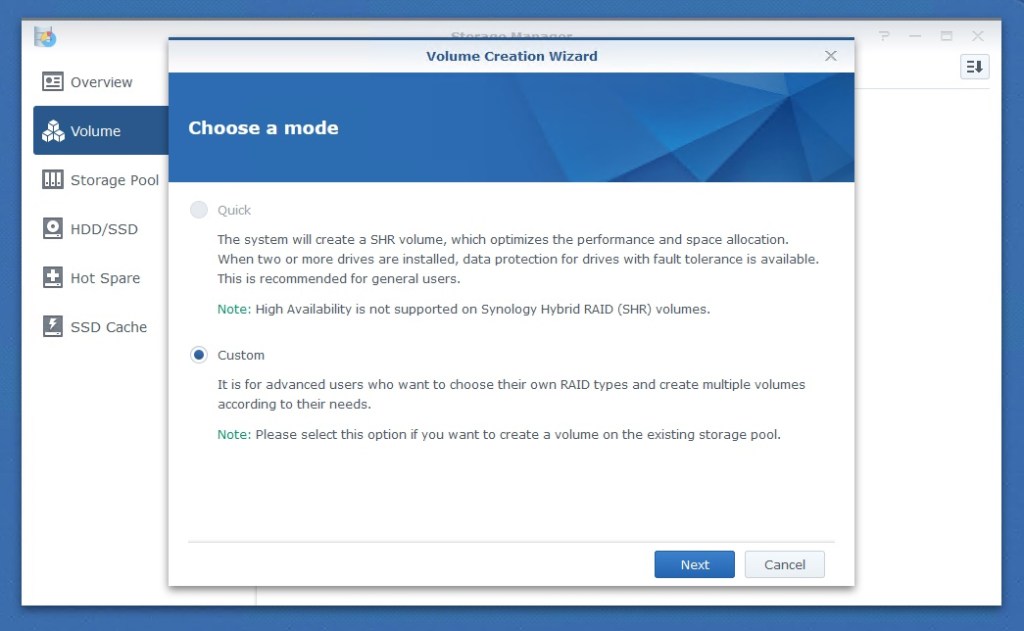
Keep in mind that Synology allows you to use the “Quick” mode to create your pool and volume in one shot. This is handy for new users, but since we wanted full control, we already created our pools and will need to use the “Custom” mode.
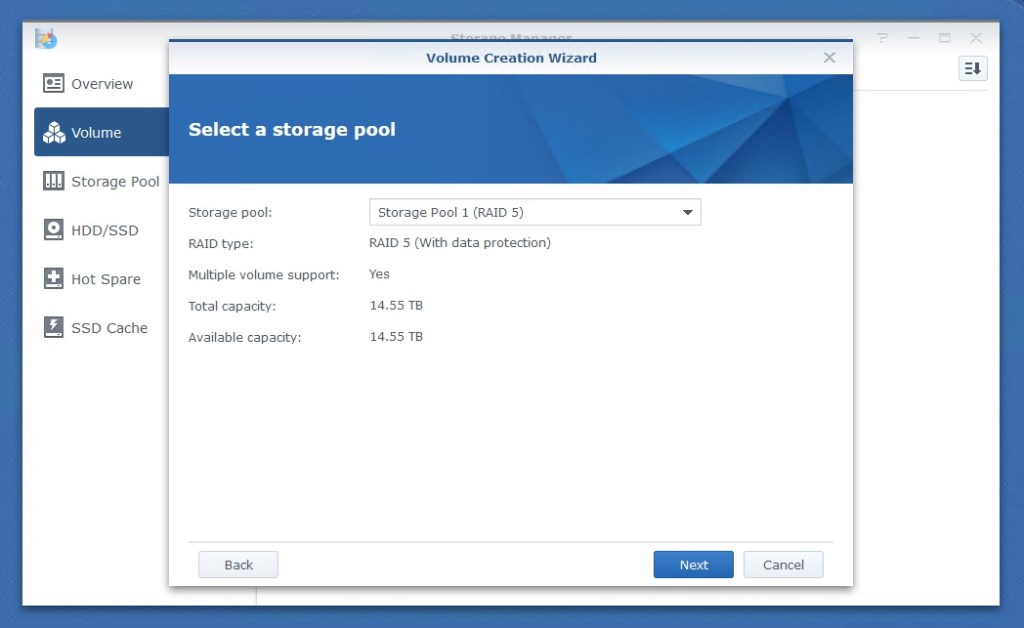
You’ll be prompted to select your existing storage pool to create the volume on. I started with the RAID 5 pool.
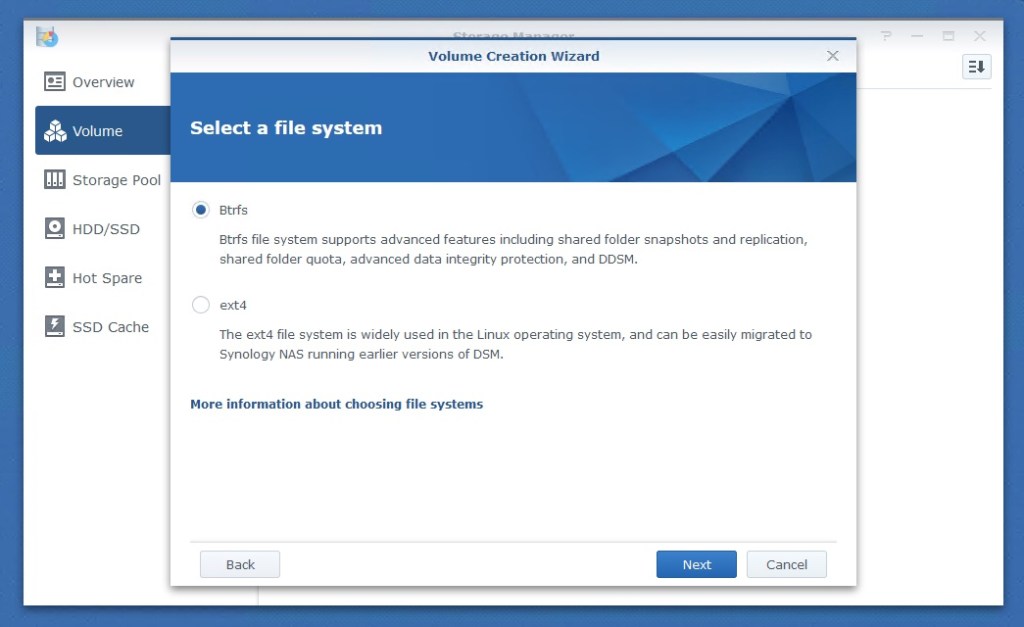
There are two filesystem types supported currently – Btrfs and ext4. Unless you’ve got a good reason for choosing ext4, you should stick with Btrfs to allow advanced features like snapshots. The ext4 filesystem is backward compatible with older Synology NAS units, so that’s really the only compelling reason I can think of sticking with ext4.
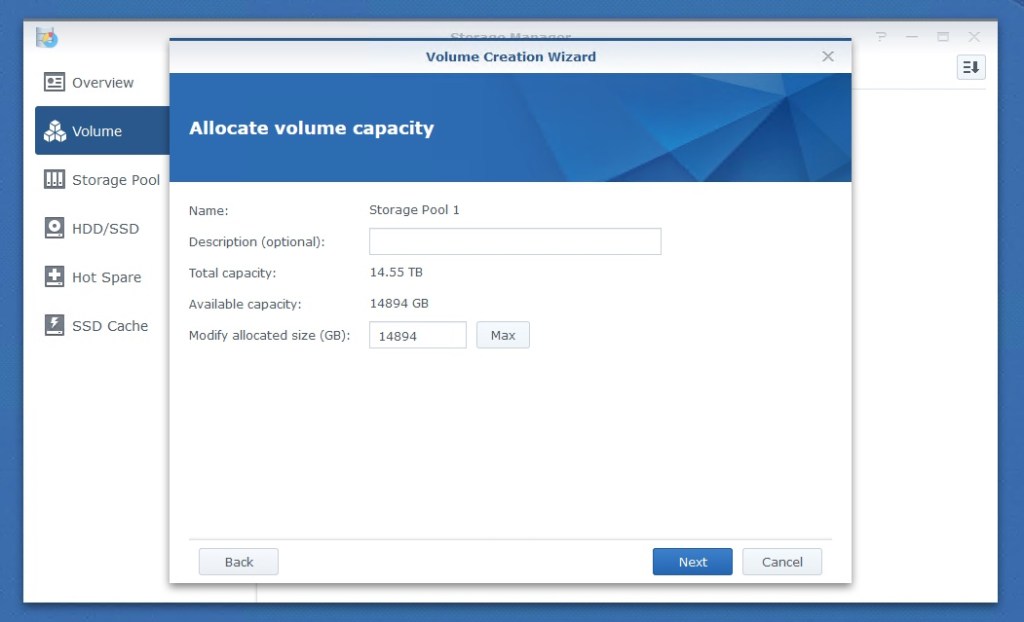
When it comes to volumes, it does not have to be a 100% space allocation. You have the option to create more than one volume per pool. This can be useful if you need to separate data for different purposes but in most cases, you can simply allocate all available space.
Note: When it comes to iSCSI – as we’ll see in a future post – you don’t map volumes directly to LUNs. Don’t create multiple volumes for this purpose as it isn’t necessary.

What’s Next?
So now that we’ve got our two storage tiers with pools and volumes ready to go, we’re ready to configure iSCSI. In the next post, I’ll get the 10Gbps networking setup and configure iSCSI using both Synology’s iSCSI Manager as well as their Storage Console vSphere Client plugin! Stay tuned.

Should be noted that the screenshots shown after selecting Btrfs filesystem is actually showing your RAID-5 storage pool of your HDD storage. And that you created a RAID-0 storage pool of your SSDs. Could be confusing seeing ~15TB RAID-5 when you only had 3x1TB SSDs 😉
(I understand it was done for illustration)