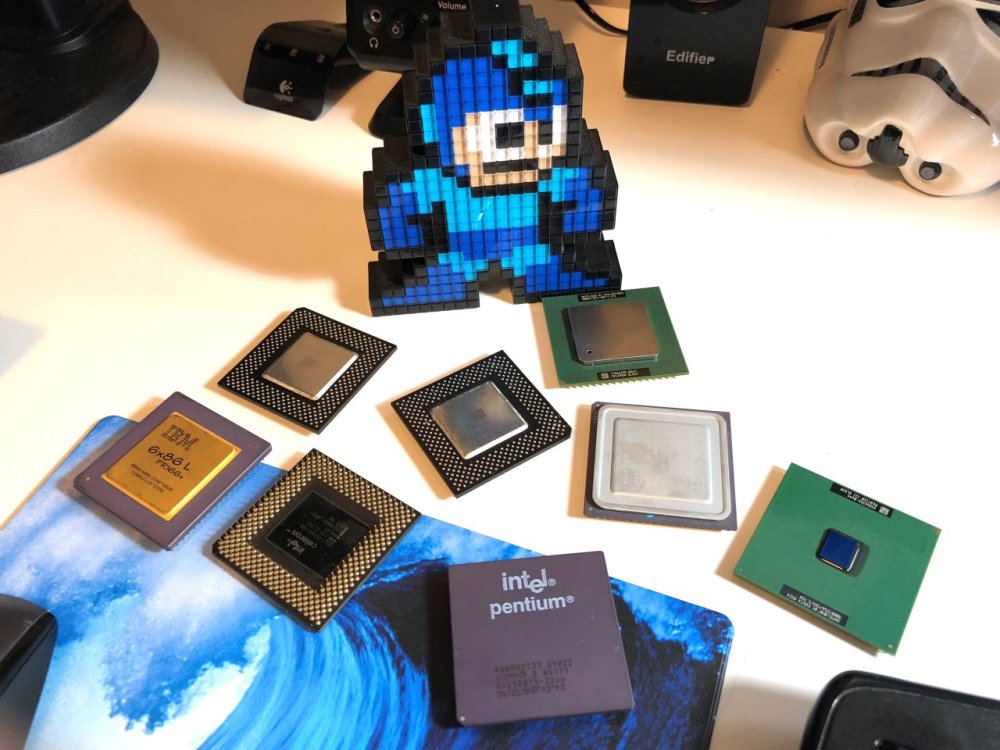
As you may know, I’ve been amassing a bit of a collection of retro hardware from the early to late nineties. This includes a number of CPUs from that era – especially those of the socket 7 variety. Storing these has been a bit of a challenge. I’ve never been satisfied with the protection a static bag alone provides for the delicate pins, and I don’t want to wrap up each CPU in bubble wrap either.
About ten years ago, I used to write PC hardware reviews and would quite often get processors from AMD in these neat little trays. Sometimes they held a single CPU, and sometimes as many as eight. They weren’t anything fancy but were perfectly sized for the chips and made of rigid plastic to protect the pins. You can still find these trays on eBay for more modern socket types, but they are much harder to come by for old processors.
Having acquired a 3D printer earlier this year, I thought this would be the perfect project to learn how to create 3D models from scratch. Up until now, I’ve mainly just printed community provided models and haven’t really done anything from scratch aside from some very basic shapes.
Getting the Measurements
I had already printed a couple of single CPU protectors from Thingiverse, but they were either not a good fit, used too much filament or took too long to print. I also wanted something that I could put a lid on and create trays that hold more than one CPU. These existing models gave me some ideas, but ultimately, I’d need to take some precise measurements of my CPUs and start from the ground up.
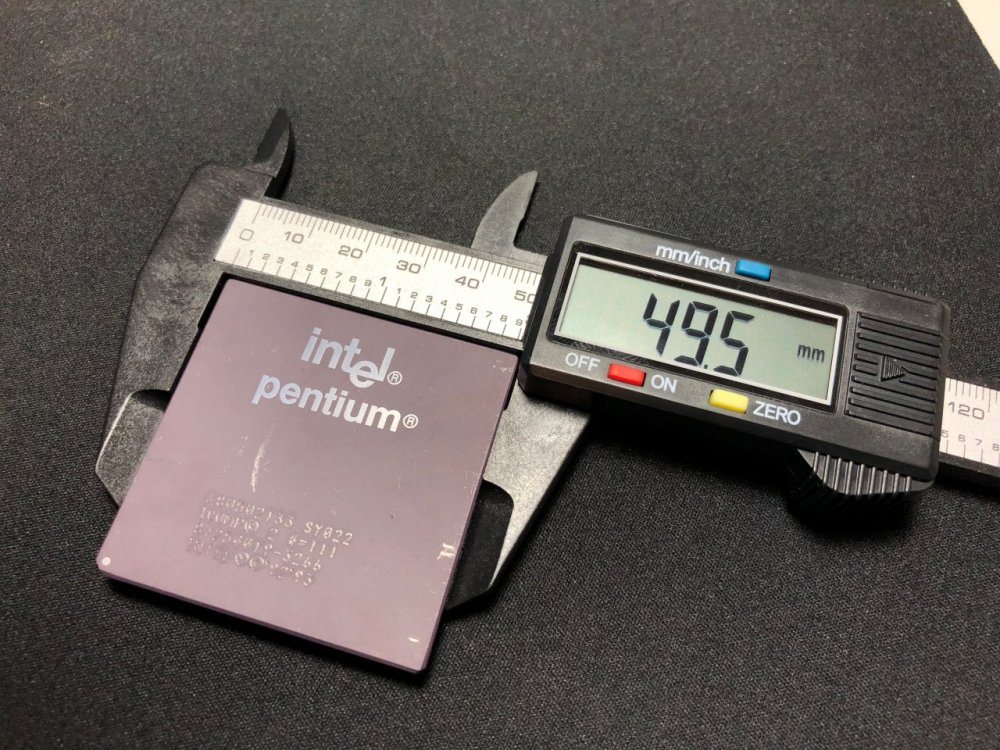
To begin, I used a ‘digital caliper’ tool that I purchased on Amazon for about $15. I can’t say enough how helpful this tool is to get precise measurements – it makes designing your objects so much easier.
To make sure the tray would work with a wide variety of socket 7 and socket 370 processors, I took a sample of each type I had in my collection:
- Intel Pentium P54C (133MHz, ceramic top)
- Intel Celeron Mendocino (400MHz, metal heatspreader). Same design and dimensions as later Pentium MMX CPUs.
- Intel Pentium 3 (1000MHz Coppermine, no heatspreader)
- Intel Pentium 3 (1400MHz, Tulatin, different heatspreader design)
- Cyrix 6x86L (133MHz, gold-top, short heatspreader)
- AMD K6-2 (500MHz, full heatspreader)
- AMD K5 (100MHz, similar to Cyrix heatspreader).
Measuring all of these processors got me to the following conclusions:
- The dimensions varied very slightly, but all were about 49.5mmx49.5mm +/- 0.1mm.
- Pin height is 3mm on all CPUs
- Most CPUs had a notch out of the corner, but some didn’t – like Coppermine P3s.
- CPU thickness (not including pin height) varied from processor to processor due to the heatspreader designs. The thinnest was the P3 coppermine at only 2mm where the exposed core is located. The thickest was the Tulatin at 3.4mm.
