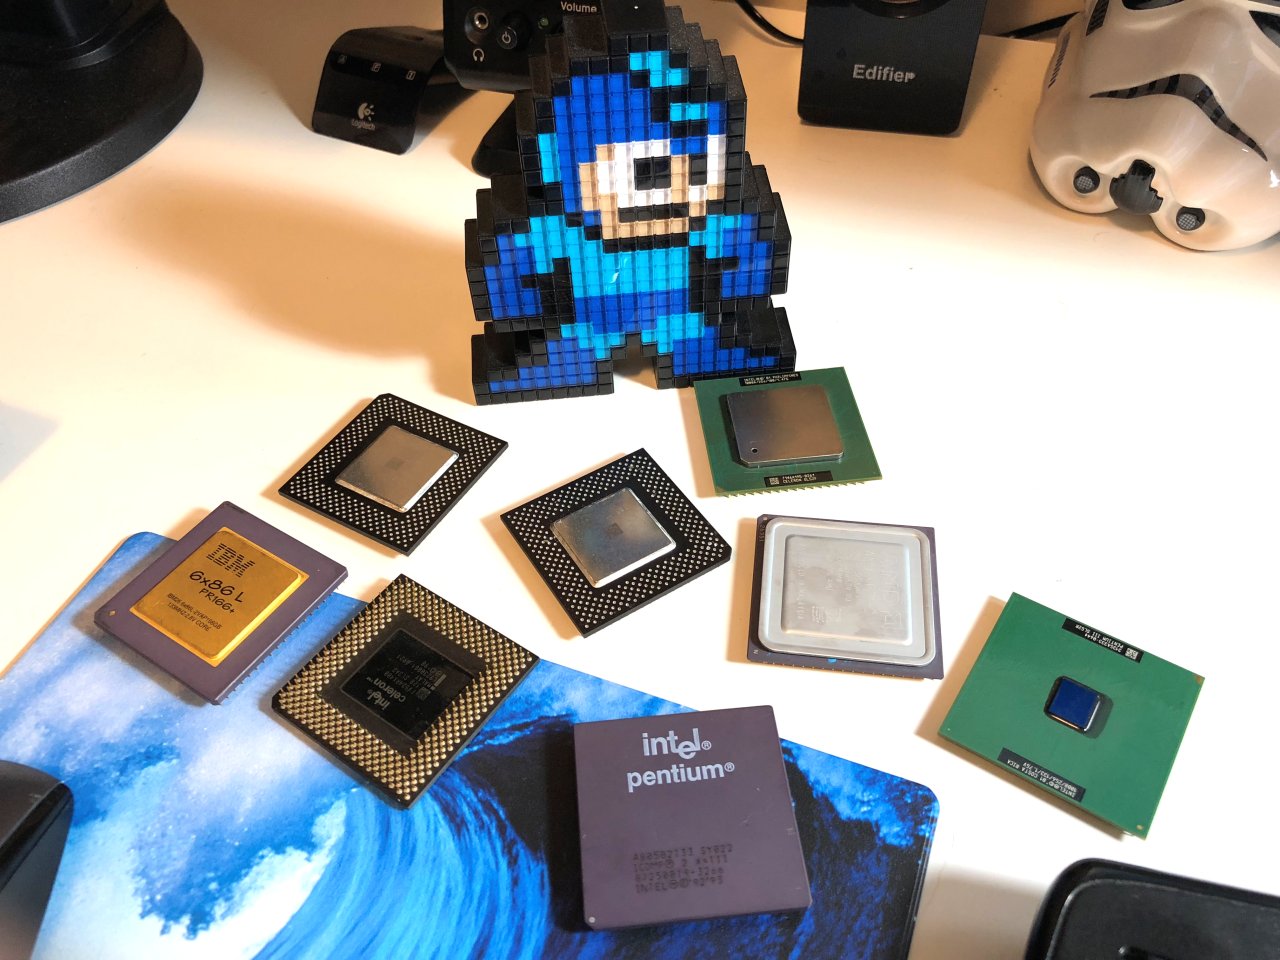
As you may know, I’ve been amassing a bit of a collection of retro hardware from the early to late nineties. This includes a number of CPUs from that era – especially those of the socket 7 variety. Storing these has been a bit of a challenge. I’ve never been satisfied with the protection a static bag alone provides for the delicate pins, and I don’t want to wrap up each CPU in bubble wrap either.
About ten years ago, I used to write PC hardware reviews and would quite often get processors from AMD in these neat little trays. Sometimes they held a single CPU, and sometimes as many as eight. They weren’t anything fancy but were perfectly sized for the chips and made of rigid plastic to protect the pins. You can still find these trays on eBay for more modern socket types, but they are much harder to come by for old processors.
Having acquired a 3D printer earlier this year, I thought this would be the perfect project to learn how to create 3D models from scratch. Up until now, I’ve mainly just printed community provided models and haven’t really done anything from scratch aside from some very basic shapes.
Getting the Measurements
I had already printed a couple of single CPU protectors from Thingiverse, but they were either not a good fit, used too much filament or took too long to print. I also wanted something that I could put a lid on and create trays that hold more than one CPU. These existing models gave me some ideas, but ultimately, I’d need to take some precise measurements of my CPUs and start from the ground up.
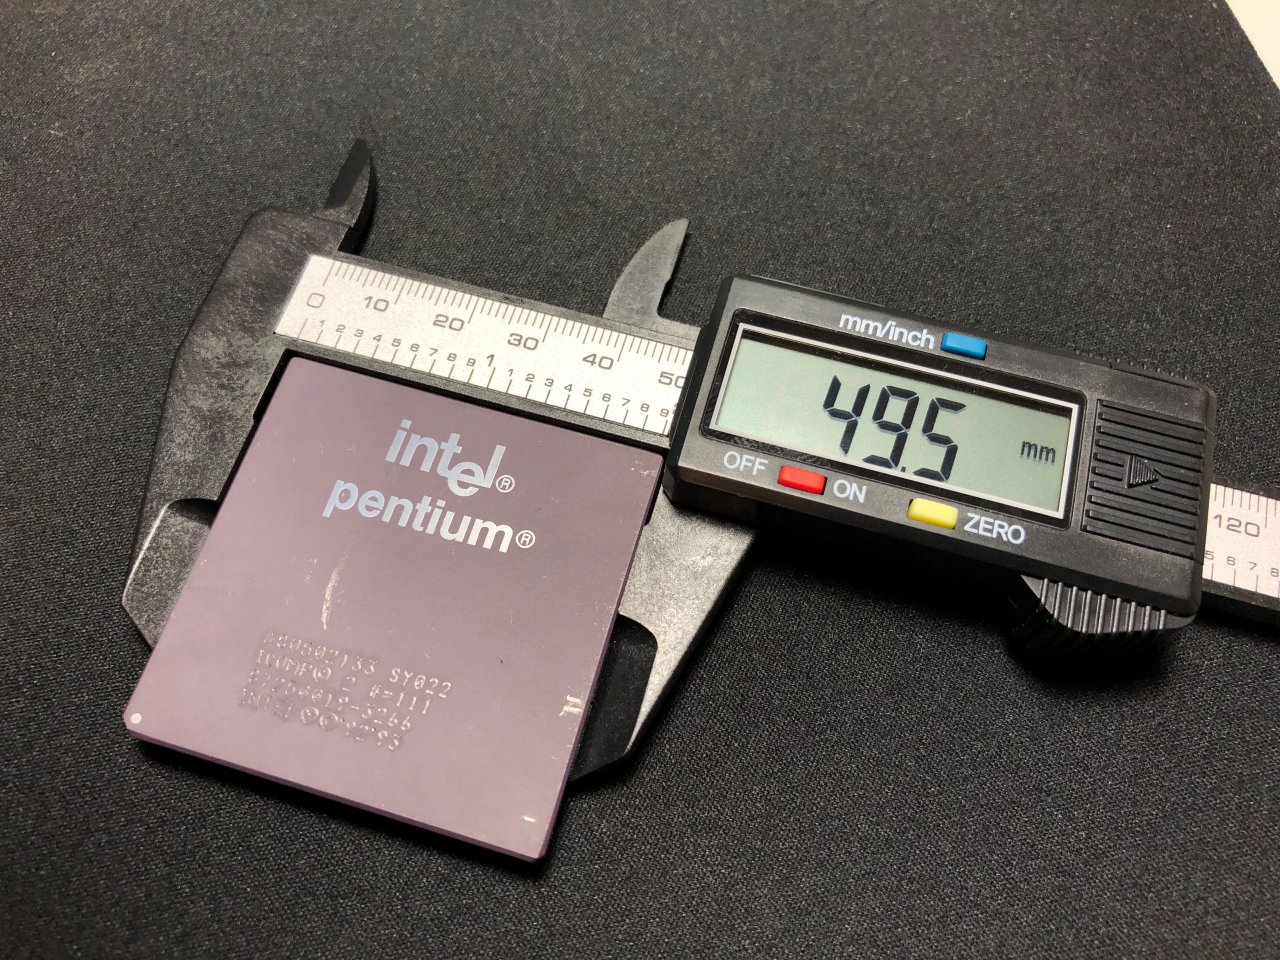
To begin, I used a ‘digital caliper’ tool that I purchased on Amazon for about $15. I can’t say enough how helpful this tool is to get precise measurements – it makes designing your objects so much easier.
To make sure the tray would work with a wide variety of socket 7 and socket 370 processors, I took a sample of each type I had in my collection:
- Intel Pentium P54C (133MHz, ceramic top)
- Intel Celeron Mendocino (400MHz, metal heatspreader). Same design and dimensions as later Pentium MMX CPUs.
- Intel Pentium 3 (1000MHz Coppermine, no heatspreader)
- Intel Pentium 3 (1400MHz, Tulatin, different heatspreader design)
- Cyrix 6x86L (133MHz, gold-top, short heatspreader)
- AMD K6-2 (500MHz, full heatspreader)
- AMD K5 (100MHz, similar to Cyrix heatspreader).
Measuring all of these processors got me to the following conclusions:
- The dimensions varied very slightly, but all were about 49.5mmx49.5mm +/- 0.1mm.
- Pin height is 3mm on all CPUs
- Most CPUs had a notch out of the corner, but some didn’t – like Coppermine P3s.
- CPU thickness (not including pin height) varied from processor to processor due to the heatspreader designs. The thinnest was the P3 coppermine at only 2mm where the exposed core is located. The thickest was the Tulatin at 3.4mm.
Designing a Single CPU Tray
Ultimately, I’d want to design a tray that could hold as many as six or more CPUs, but before I could do that I’d need to make a single CPU holder first. If the dimensions worked out properly, I could simply multiply it to create larger trays.
I had initially used FreeCAD to create shapes when I first got the printer, but I struggled to create even basic designs. That’s when I found SketchUp – a product previously owned by Google. A free version of the software exists that is totally web based, but I’m using the older free version of the software for Windows that can still be obtained. I won’t get too much into how SketchUp works, but I will say that the interface is very intuitive with great drawing tools. I especially love the ‘Push/Pull’ tool – you draw any sort of flat shape, and then push or pull it into three-dimensional existence. I’ve still got a lot to learn, but it really didn’t take me long to get comfortable enough to design something like a CPU tray.
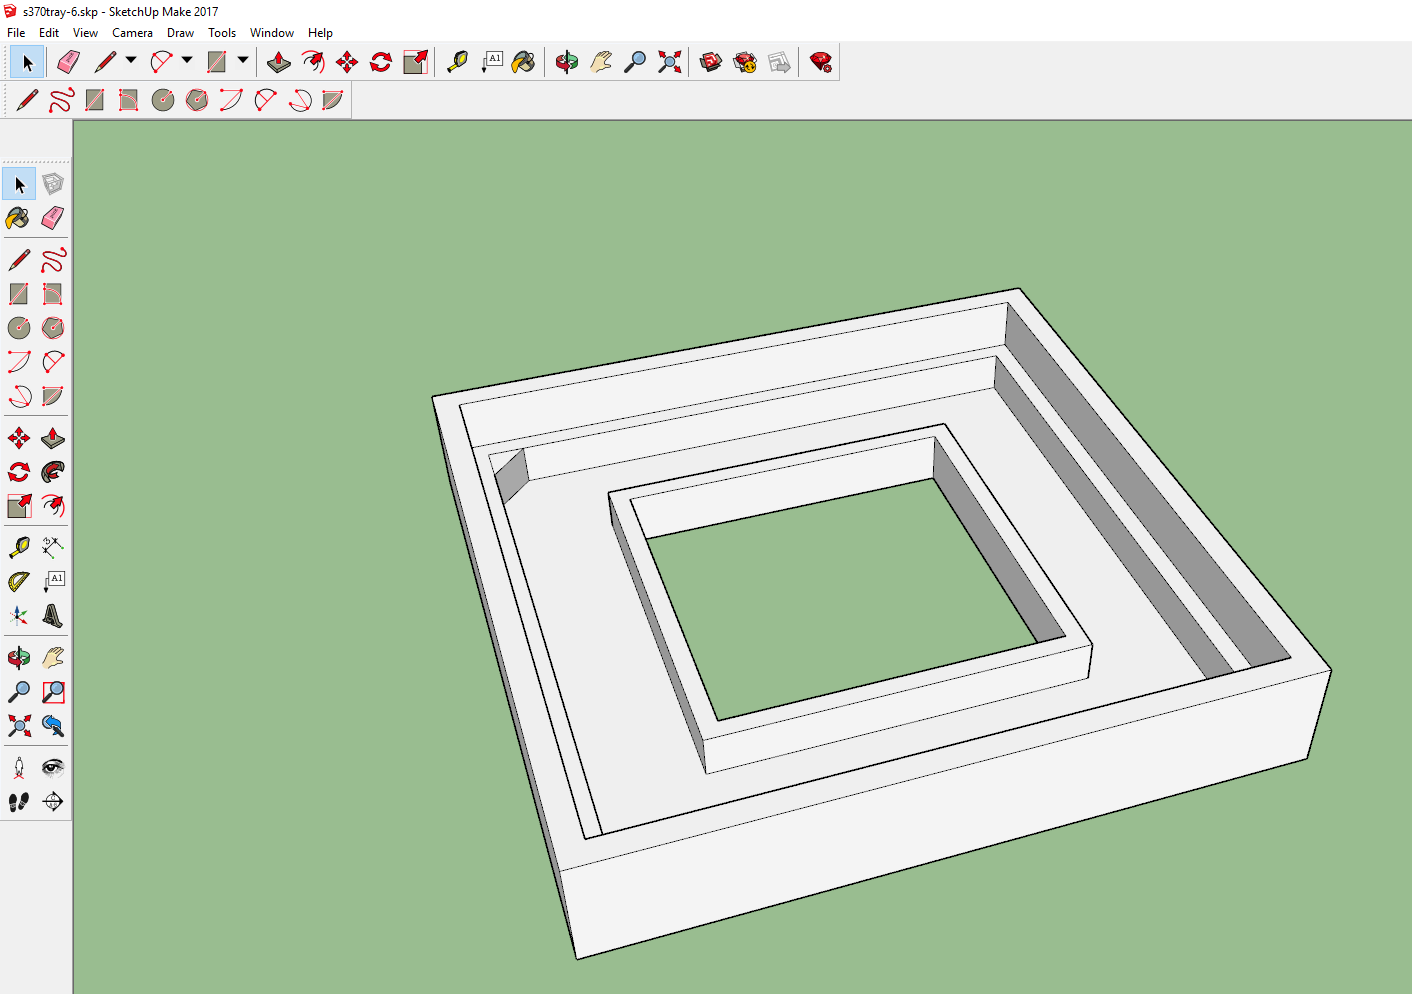
Here is my first go at a CPU tray:
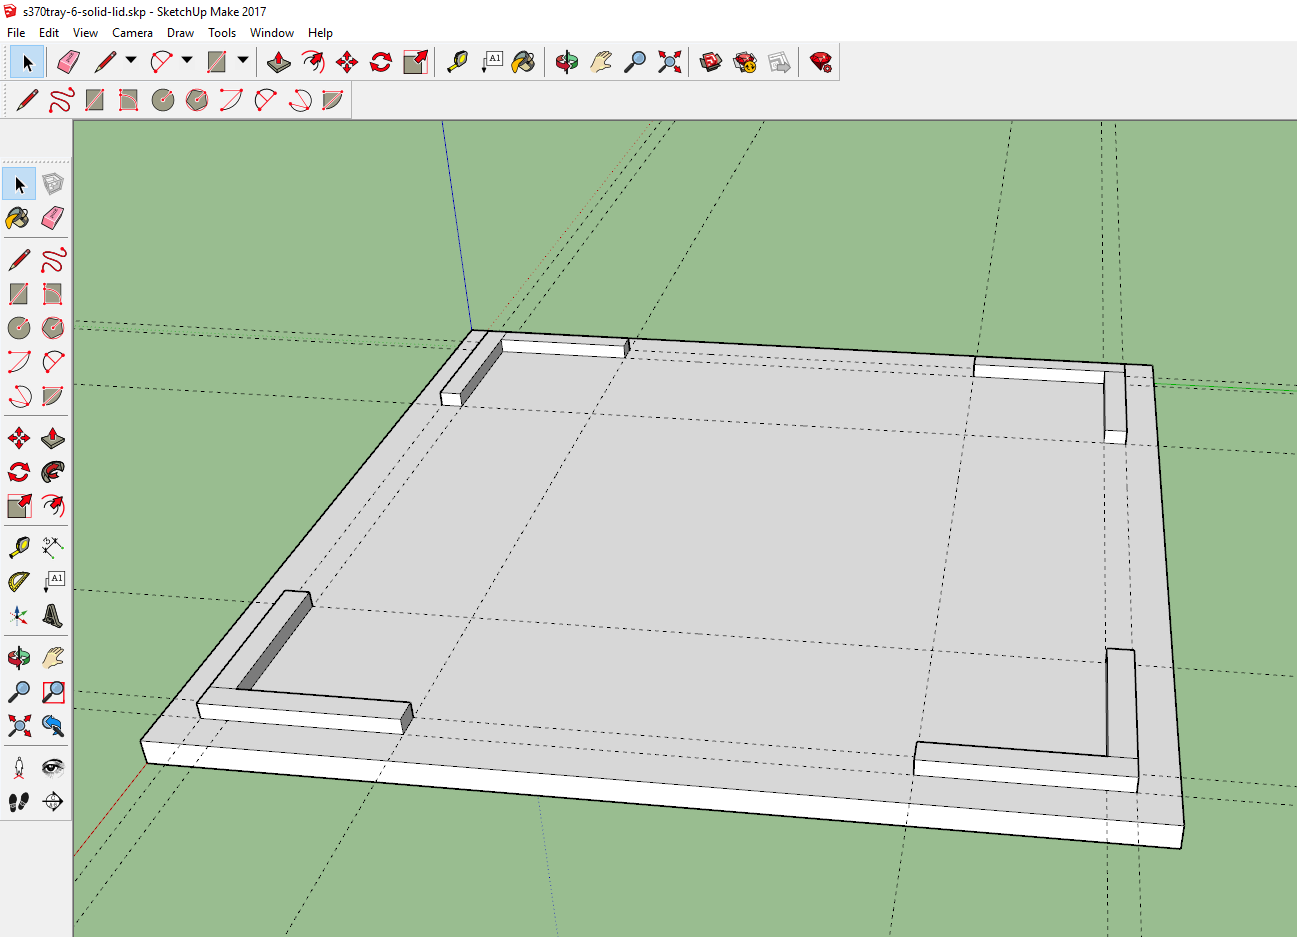
And the accompanying lid:
To make sure that the CPUs would fit loosely enough not to get stuck, I created the opening about a millimeter bigger than was required. I also left about the same amount of space around the indentation where the pins rest. The CPU also sits deeply enough in the tray so that the lid can be fixed on even the ticker P3 Tulatin CPUs.
You’ll probably also notice a small notch in the corner of about 2mm where the missing pin is on all socket 7 and socket 370 processors. I didn’t really need to do this, but it forces you to put the CPU in the correct orientation in the tray.
The Print
Overall, I’d say the careful measurements I took paid off – the processors and lid fits perfectly!

The total print time for the tray was about two hours on my Monoprice Select Plus. The lid was about an hour. I used 40% infill, but it’s only used for the outside border of the tray and 100% doesn’t really slow things down much.


The dimensions I used in SketchUp didn’t match exactly to the actual printed tray but were very close – within about 0.5mm or so. I’m sure I could have done some tweaking to increase the accuracy in Cura, but it probably would have slowed down the print quite a bit as a result. At any rate, it’s close enough and I’m very happy with the result.


Stay tuned for another post where I’ll get additional 3D models created for more CPUs. I’ll probably shoot for a 4xCPU tray and a 6xCPU tray as well. Once I’ve got them finished, I’ll share the model files for anyone else who’s interested in printing these.
Update (4/3/2019). I have completed some of the 3D models for a single, quad and 6-way tray. You can find the sketchup model files here if you want to make any adjustments or use them as a base for new trays. You can also download the .STL files for 3D printing here.
Here is an example of the 6-way tray:


Thank you, I really liked your contribution, I have several Socket 7 and Socket 370 microprocessors in my retro collection. I made the 4 and 6 version (4 x Celeron + 6x Pentium Cyrix Amd K6 socket 7) with my Creality CR10 v2. Cheers from Argentina!
Hi,
I wanted to let you know that I posted an updated version of your design on thingiverse
https://www.thingiverse.com/thing:6844985/files
Let me know if it’s not ok, I’ll delete it.
Thanks !
Awesome! Love the changes. No problem at all and thanks for posting!