One of the great things about NSX-T is its complete independence from vCenter Server. You can still link to vCenter Server if you’d like to automate certain tasks, but unlike NSX-V, you can accomplish many deployment tasks manually. One of the firsts things you’ll be doing in a new NSX-T setup is to deploy your control cluster.
Although automated deployment through vCenter and the UI is convenient, there are some additional benefits to manual controller deployment. Firstly, you can select a non-production ‘small’ sized form factor that isn’t selectable in the UI saving you a couple of vCPUs and about 8GB of RAM per appliance. Secondly, deploying manually also allows you to thin-provision your controller VMDKs off the bat. In a home lab, these are some desirable benefits. And of course, there is always the satisfaction you get from running through the process manually and better understanding what happens behind the scenes.
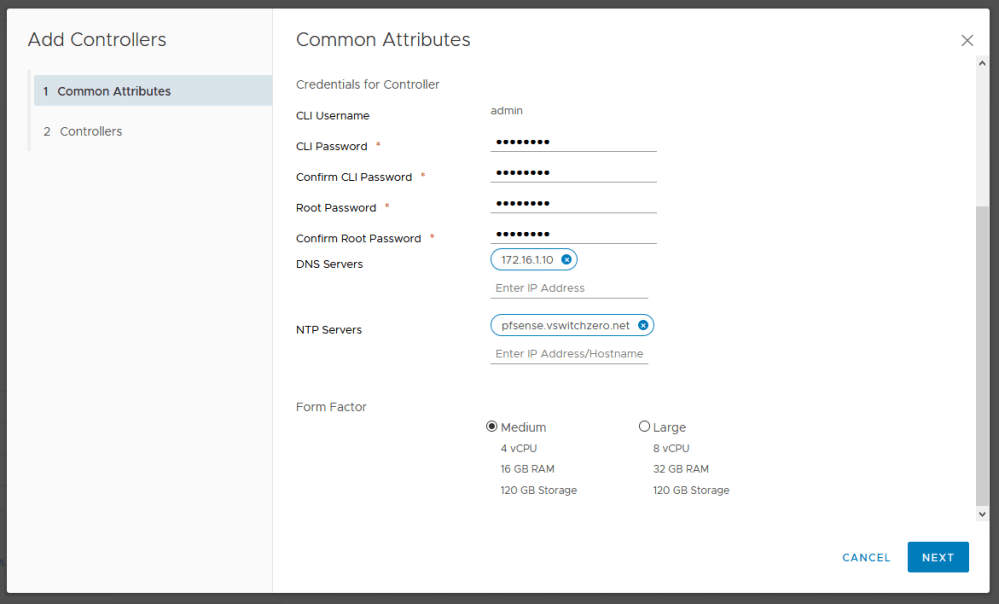
As seen above, the automated controller deployment wizard does not allow the selection of a ‘Small’ form factor.
Deploying Controllers
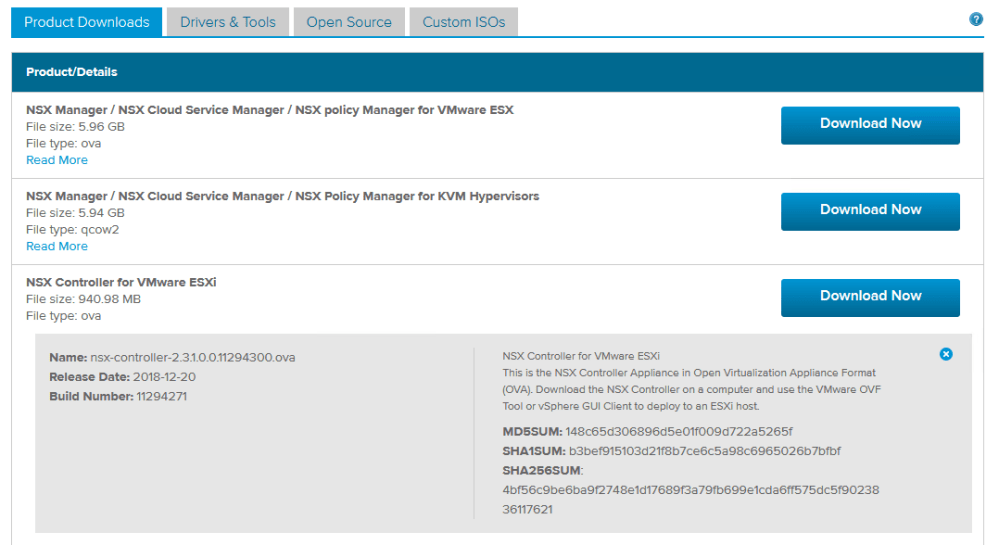
To begin, you’ll need to download the NSX-T controller OVA. You’ll find it listed along with the other NSX-T deliverables on the download page.
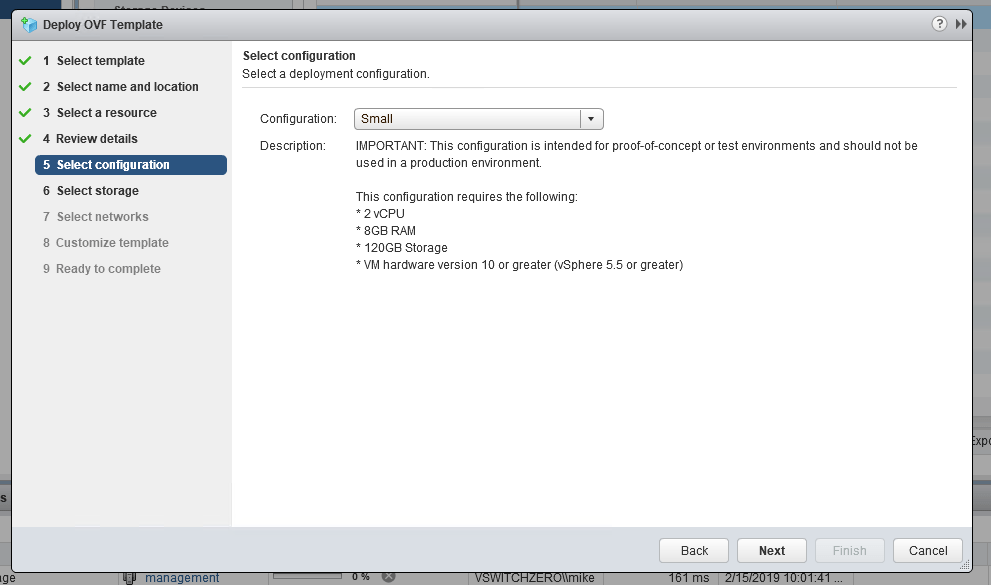
There are a few different ways that you can deploy the OVA including with ovftool. I’m just going to use the vSphere Client for this example. As you can see below, we can now select an unsupported ‘Small’ form-factor deployment:
In addition to this, you’ll get the usual template customization options along with a few new ones you may not have seen listed under ‘Internal Properties’:
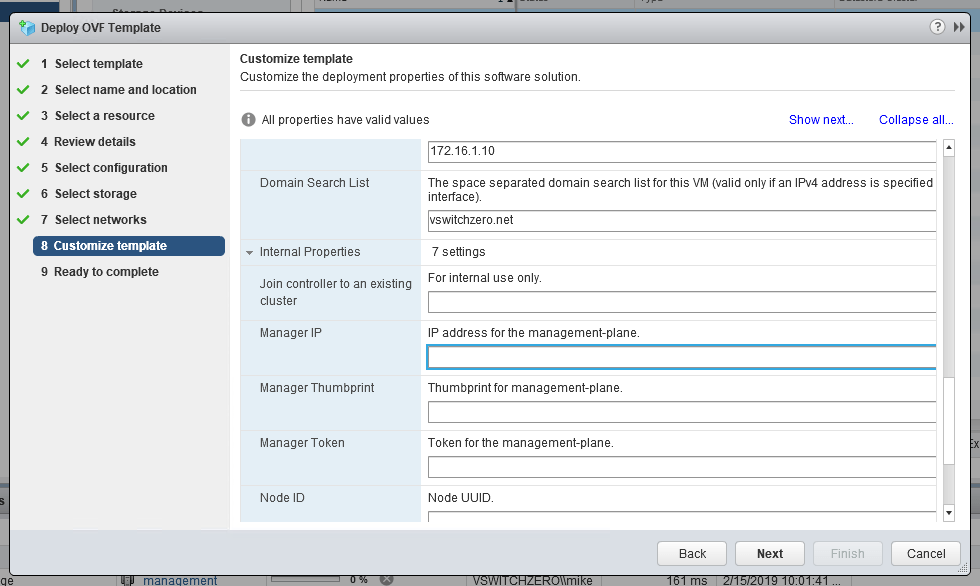
As you probably have guessed these internal properties can be used to save some of the work needed to get it connected to the management plane and to the control cluster. I’m going to skip this entire section and run through the process manually from the CLI post-deployment.
