In Part 4 of this series, I took a look at some sound card options. I’m now getting a lot closer to having this build finished, but there is still one key piece missing – storage.
When dealing with old hardware, hard drives simply don’t age well. Anything with moving parts is prone to failure and degradation over time. Not only this, but as the bearings wear down, the drives begin to have an annoying whine and droning noise that can be heard rooms away.
I’m all for the genuine nostalgic experience, but slow and noisy drives with 20 years of wear behind them are not something I’m particularly interested in. That said, I knew that I wanted to retrofit a modern storage solution to work with this machine.
Challenges and Limitations
Having worked with older hardware before, I was prepared for some challenges along the way. There are numerous drive size limitations and other BIOS quirks that I’d need to navigate around. Below are just a few:
- Most 486 and older systems are limited to a 504MB hard drive due to a limit of 1024 cylinders being supported in the BIOS.
- Many systems in the late nineties simply didn’t support drives larger than 32GB due to other BIOS limitations.
- With a newer BIOS, some IDE systems can support drives as large as 128GB, which was the LBA limit with an ATA interface.
Clearly there are newer IDE drives with capacities beyond 128GB, but these drives require newer Ultra ATA 100/133 controllers. After doing some testing, I discovered that the Asus P2B that I outlined in Part 1 of this series had a 32GB drive limitation with the latest production BIOS and a 128GB limitation with the newest beta BIOS. The MSI MS-6160 that I covered in Part 3 was limited to 32GB. Since this was the board I wanted to use, I could only consider IDE solutions of 32GB or less if I wanted to stick with the onboard controller.
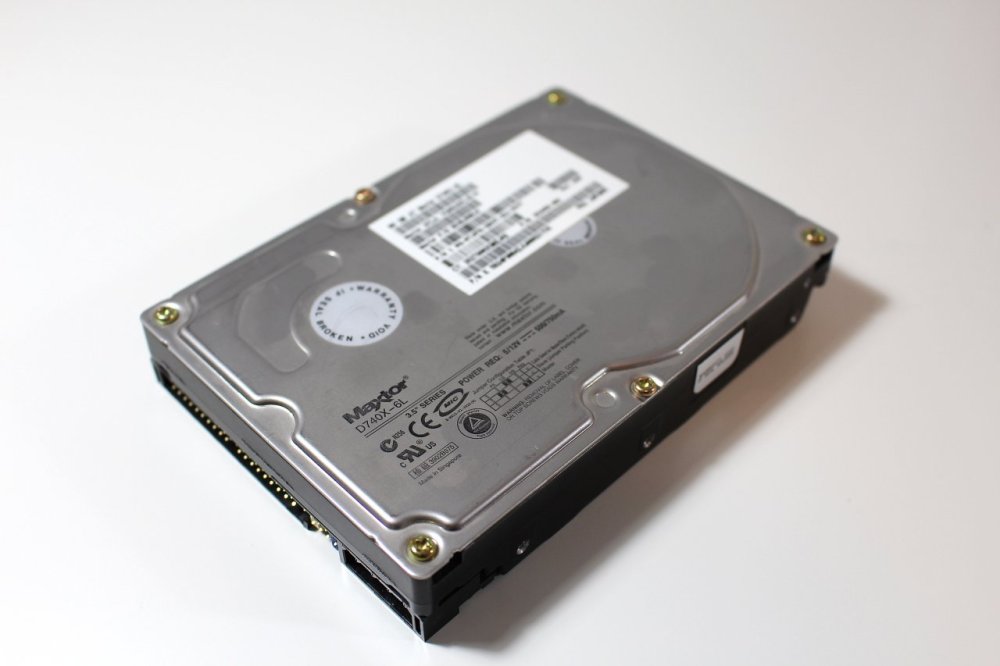
Option 1 – Maxtor 80GB IDE Drive
In my parts bin, I had an old 80GB Maxtor IDE drive collecting dust. Surprisingly, this drive still runs quite well despite some pretty noticeable bearing whine.
You may be wondering how I managed to get an 80GB drive working on a system limited to 32GB. Many drives of this era support what’s referred to as the CLJ or ‘capacity limitation jumper’.
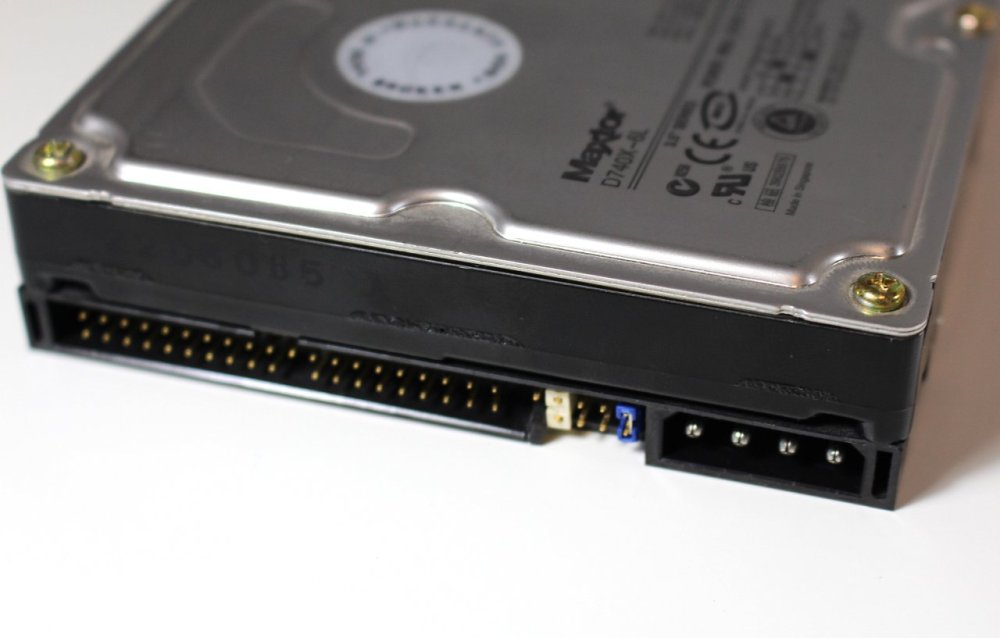
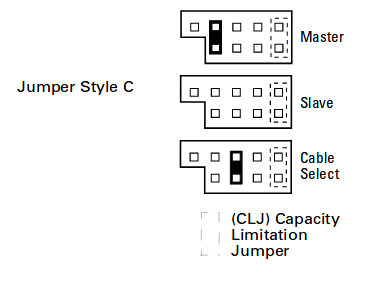
The above pin-out was taken from the Maxtor D740X-8L manual. This jumper essentially limits the number of cylinders that the drive reports, artificially limiting the drive to 32GB in size. This would allow the drive to work, but more than half of it’s storage capacity is left inaccessible.
When cylinder limited, this drive is definitely a functional option for the build. Because it’s also a newer generation drive, it was pretty fast and had no difficulty saturating the 33MB/s of the onboard IDE controller. I just couldn’t get past the annoying droning noise it made due to worn bearings.
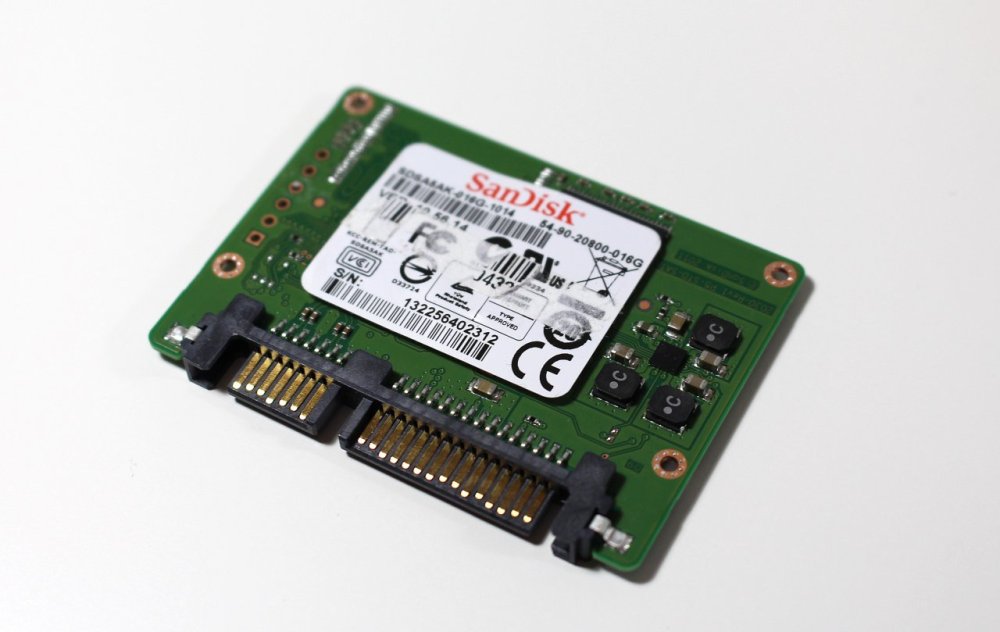
Option 2 – Small SATA Drives and SATA Converter
In my search for silence, I came across some tiny 16GB SanDisk U100 SATA drives. It appears that these are found in Chromebooks and other low-power devices. At only $10, I bought a couple to play around with.
To get SATA drives to work on this build, I had two options – buy an active SATA to IDE interface converter or find a PCI SATA controller card. I had considered both options, but liked the simplicity of the SATA converters.


I wound up buying a two-channel (master/slave) adapter from StarTech for about $18 on Amazon. I really wanted to make this adapter work, but despite my best efforts I could not get it to function in any of the machines I tried. In the Asus P2B with an Award BIOS, it refused to function with anything other than a SATA CD drive. The BIOS would always report a ‘primary hard disk fail’ error. A newer Athlon XP system with an Award BIOS behaved in the exact same way. In the MSI MS-6160, I could actually get the adapter to work, but as soon as I tried to write anything substantial to the drives, they would become corrupted. I could never get further than about 10% into the Windows 98 installation.
I suspect that the adapter I have may be defective because the drives I tried work fine on native SATA controllers and there have been quite a few positive reviews online. I will be returning it to Amazon.
Although it would have been cool to run a modern SSD in this system, I also couldn’t find a good way to mount these tiny SSDs in the case without resorting to Velcro or something that looked like a real hack job. That said, I abandoned this option.
Option 3 – Compact Flash Cards
I had a lot of success reviving an old Pentium 90 system using a Compact Flash to IDE converter. The beauty of Compact Flash is that these cards use the IDE protocol natively and do not need any kind of translation circuitry to work. This means the adapters are inexpensive and you can get very different performance characteristics depending on the card you choose.

The adapter I bought is from Monoprice and cost about $11 before shipping. It fits in any expansion slot and can be configured as a master or slave IDE device.
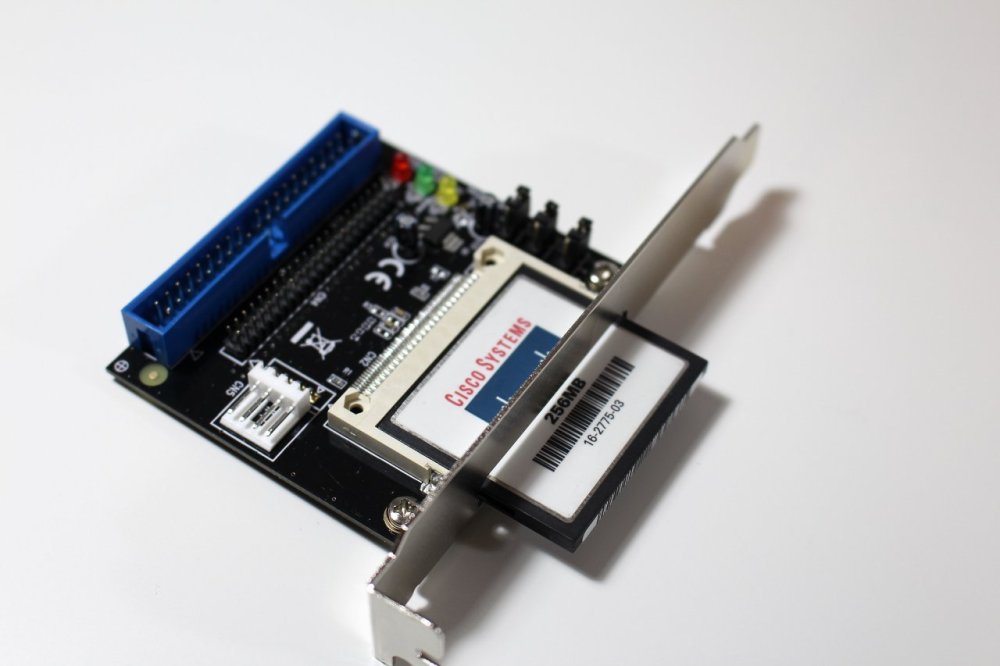
Even using an old 256MB Cisco card, I was able to breathe new life into the old Pentium 90 system I used this with. Because of the absence of ‘seek latency’ that traditional hard drives suffer from, the system feels noticeably responsive.
There are a few disadvantages though:
- Good quality compact flash cards are getting harder to find and are actually pretty pricey (especially above 16GB in size). This is because most cameras have migrated away from compact flash now.
- Some cards do not behave well as IDE drives, so it’s a bit hit and miss. Some cards with SLC flash are designed for use as a hard drive but cost a lot more.
- Small file read/write performance is pretty poor on most cards. This is fine for DOS, but can result in problems in Windows 98.
I had considered buying a good quality 16GB or 32GB CF card, but didn’t want to shell out $40 or more for one. I also didn’t want to take this adapter away from the Pentium 90 rig it’s in currently.
Option 4 – SD Card to IDE Adapter
Compact flash cards with their native IDE support made a lot of sense, but SD cards didn’t initially sound like a feasible solution to me. Interestingly, eBay has recently started flooding with these nifty little SD to IDE card adapters. Because SD cards are everywhere and can be had for less than a Latte at Starbucks, it makes sense that people would start moving toward these.
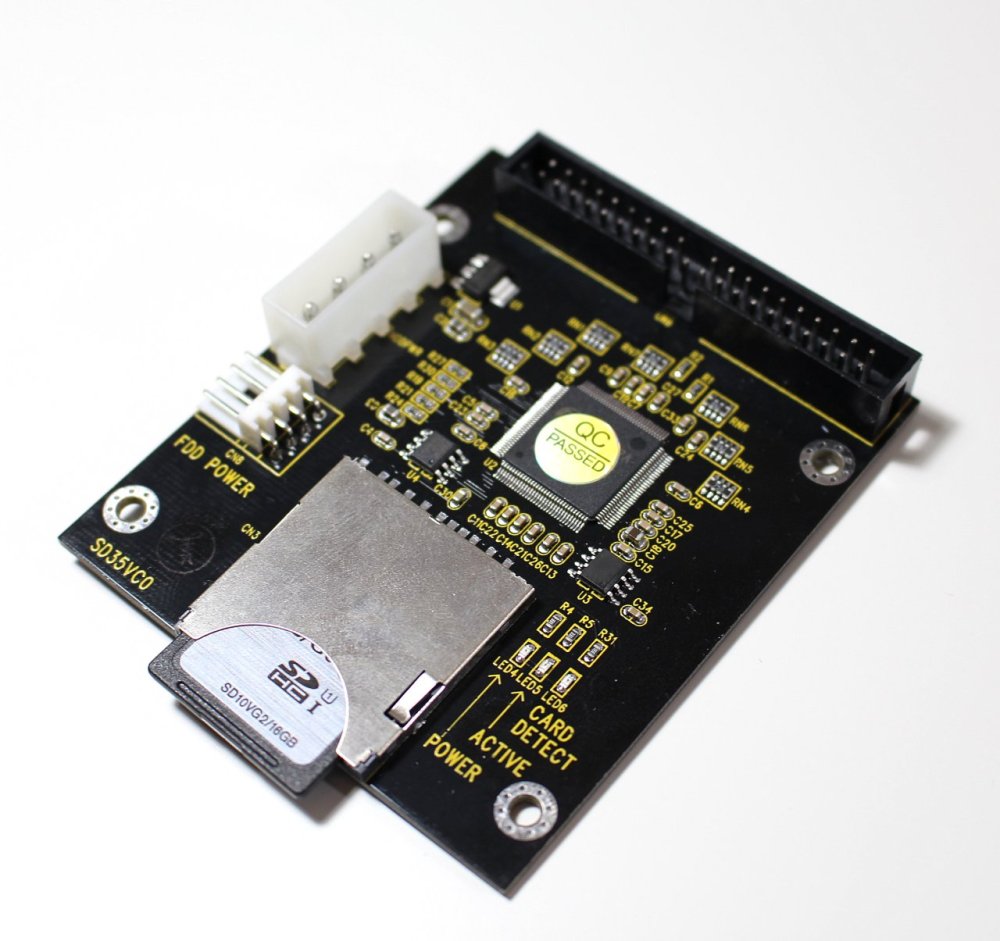
Pricing for these range between $10-15 on eBay currently. There appears to be several variations, but the IC on them all seem to be made by a company called ‘Sintechi’. Because SD cards do not natively support the IDE protocol, this chip needs to do all of the command translations on the fly. As far as the IDE controller is concerned, it’s talking to an IDE hard drive and has no idea about the SD card.
Just like with the Compact Flash adapters, the quality of the card will be very important from a performance standpoint. Thankfully, because the chip on the adapter does all of the translation, compatibility isn’t really a concern any more.
About the only unfortunate limitation I found with this adapter is the lack of a master/slave jumper. I would be nice to manually select this mode but thankfully it’ll be the only device on the primary IDE channel and will do just fine as master.
This adapter supports IDE and DMA modes, but is limited to the ‘High Speed’ 2.0 SD protocol, which has a maximum throughput of 25MB/s. The version I have does not support the higher speed UHS standards that can scale well over 100MB/s. This really didn’t matter much though, because I’d be using it on an old UDMA 33MB/s interface.
SD Card considerations:
- Buy a good quality, name brand card. They are more likely to have better write endurance and will last longer. Using these as system drives will put more strain on them than in a device like a camera.
- If possible, get a card with MLC based flash. They’ll have improved performance and write endurance over the cheaper models.
- Get a ‘Class 10’ rated SD card and avoid older cards. These are designed to sustain at least 10MB/s writes. Most cards will be fine from a read perspective, but you don’t want to be severely write bottle-necked.
- BIOS drive size limitations still apply, so don’t get a card larger than the maximum supported or it will not be recognized.
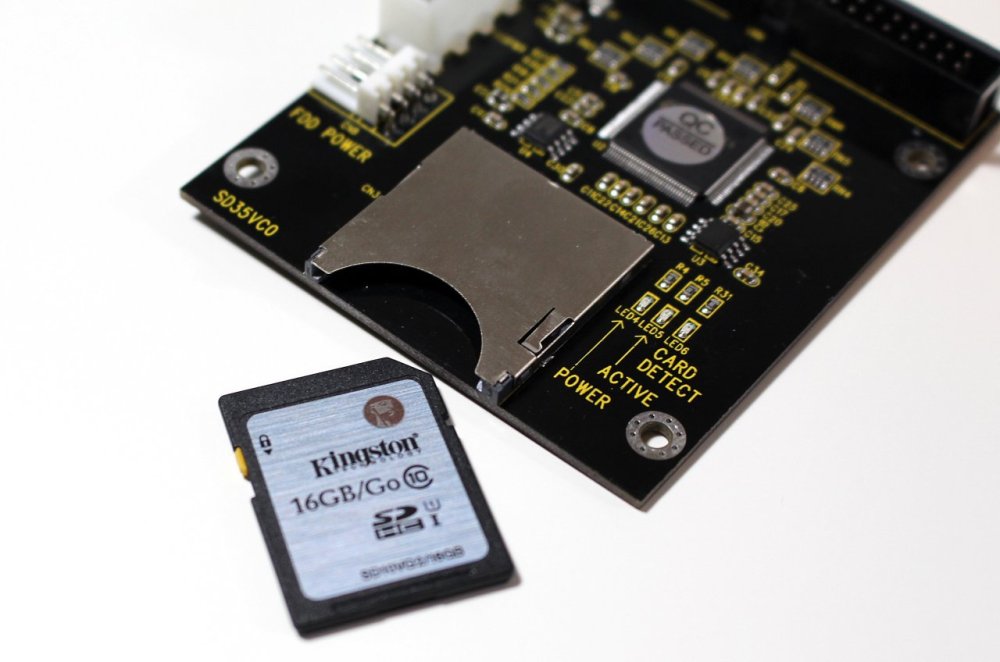
To do some initial testing with the adapter, I bought a 16GB Class 10 Kingston card as pictured. It cost only $10 and worked perfectly. As expected, I had no difficulty getting the full 25MB/s read speed with DMA mode enabled. The writes, however left a bit to be desired at only about 9MB/s. Despite the slow writes, the system had excellent small file read/write performance and felt very quick. Clearly the elimination of seek latency means a lot more than write throughput.
A few weeks later – once I was satisfied the adapter worked well – I bought a higher-end 32GB Transcend model card with MLC based flash and higher advertised read and write speeds. This card had even better small file reads and writes and a maximum write throughput of close to 20MB/s. With this card, I had the maximum possible drive size, and excellent performance.
Conclusion
After weighing the options, I liked the SD card adapter best. The cards are cheap, it performs really well and best of all I can easily swap out cards depending on the project I have ongoing. Because I’ll be using FAT/FAT32 filesystems, I can also take the card out and add/backup files from any modern PC with a USB card reader on it.
Although getting excited about 25MB/s sounds ridiculous in 2017, this was blazing fast 20 years ago – especially when you consider that there is no seek latency. Most importantly to me, the system is silent, responsive and runs very cool.
I hope to find a good way to mount the adapter in the case and finish the build in the next and final installment of this series. Stay tuned!
Lastly, I just wanted to send a quick shout out to Phil (@philscomputerlb) from Australia! Phil has done some great videos on storage options for retro computers that were a big help! Definitely check out his YouTube channel if you are interested in retro hardware. You’ll find a huge wealth of information there!
Building a Retro Gaming Rig Series
Part 1 – ASUS P2B and Slot-1 CPUs
Part 2 – 3D Video Card Options
Part 3 – The mATX MSI MS-6160 and BIOS Woes
Part 4 – Choosing a Sound Card
Part 5 – Hard Drive/Storage Options
Part 6 – Completed Build!
