Synology DS1621+ Unboxing and Hardware Setup

A new 6-bay AMD Ryzen powered NAS unit from Synology with lots of potential!

My very first commercial NAS box that I bought over 13 years ago was the dual-bay Synology DS207+. At the time, it was the cream of the crop. The hardware was great, but Synology’s very rich software suite was what really set it apart from many of its competitors at the time. The unit served me very well for years in my home network.

Once I got my first VMware home lab setup, I moved away from consumer-grade NAS units and toward more powerful custom-built servers running FreeNAS/TrueNAS. Although awesome for home use, the SoC (system on a chip) ARM-based processors on these old units simply couldn’t handle the I/O requirements for VMs on iSCSI or NFS datastores. Unless you were willing to shell out a lot of dough for an enterprise-grade NAS/SAN, you were stuck building your own. A lot has changed in this market over the last few years. NAS units have gotten much quicker and a reasonably priced unit can now be a very feasible solution for a wide variety of applications – including virtualization. Today, Synology makes a number of multi-bay NAS units with powerful processor options. They have everything from high-performance ARM based units to Xeon-Ds and even AMD Ryzen Embedded options as in the 1621+. Although they still command a premium price, you get way more for your dollar today than you did even just a few years back. When Synology asked if I would be interested in trying out one of their business class “plus” NAS units, I jumped on the opportunity.

Synology was kind enough to send me a review sample including a DS1621+ NAS unit, three of their Synology branded 8TB hard drives and their new E10G21-F2 10Gbps SFP+ NIC. Over the next few weeks, I hope to take a look at this latest generation of multi-bay NAS systems and see how feasible they are for a small to mid-sized business network. I’m also very interested in trying out some of Synology’s included software that is catered towards VMware vSphere. For now, I just wanted to share a quick unboxing and hardware setup post.

Hardware Specifications

The Synology DS1621+ specifications are as follows. You can find the full list on Synology’s DS1621+ page.

  • CPU Model: AMD Ryzen V1500B (4 cores, 2.2GHz)
  • Hardware Encryption: Yes, AES-NI
  • Memory: 1x4GB DDR4 ECC SODIMM (Upgradable to 32GB, 2x16GB)
  • Drive Bays: 6 (3.5 or 2.5” SATA compatible)
  • Maximum Expansion: 16 Bays with 2x DX517
  • M.2 NVMe Slots: 2 (80mm 2280 type supported)
  • Maximum Volume Size: 108TB each
  • Hot Swappable: Yes
  • Ethernet Ports: 4x 1GbE, LAG supported.
  • USB Ports: 3x USB 3.2 Gen 1
  • eSATA: 2
  • PCI-e Expansion: 1x Gen3 x8 slot (x4 link speed)
  • Dimensions: 166mm x 282mm x 243mm
  • Weight: 5.1kg (11.2lbs)
  • Power Supply: 250W, 100V-240V AC input
  • Power Consumption: 51W (Access), 25W (HDD Hibernation)
  • Warranty: 3 Years

The specifications for this NAS unit are quite impressive. The one feature that gets most people excited is the embedded AMD Ryzen processor. With AMD’s hugely successful Zen architecture, this is not surprising. AMD has managed some very impressive performance numbers – especially in their 3rd and 4th generation CPUs. Being an embedded part, the Zen V1500B processor is a little different than their desktop processors. From what I can see, it is based on AMD’s first generation Zen architecture so it won’t be quite as potent clock-for-clock as some of AMD’s recent Ryzen CPUs. None the less, with four cores, eight threads and a 2.2GHz clock speed, this is a very capable CPU for a NAS. Best of all, being an embedded part, the total TDP for this processor is only 16W. Having a potent x86-64 CPU under the hood opens up the possibilities for a number of different use cases. Not only should iSCSI storage performance be up to the task, but you could even run virtual machines and many of the more demanding software packages on the NAS unit.

Another great feature is Synology’s inclusion of NVMe. Three and a half inch mechanical drives do still have their place for affordable raw storage capacity, but flash storage is really necessary for good performance. All six drive bays support 2.5 inch SATA SSDs, which is great, but there are now two NVMe slots intended to be used for drive caching as well. Being able to use multiple storage tiers and caching really gives this NAS a lot of performance potential.

Unboxing

Without further ado, let’s check out the DS1621+ and the other goodies Synology sent over.

Synology included three 8TB drives and an SFP+ NIC along with the DS1621+

Synology moved away from flashy packaging years back. I like the subtle cardboard packaging because it lets the quality of the product speak for itself.

The size of the box makes the NAS unit feel larger than it actually is. There is ample protection from shipping damage with foam protecting the unit from all sides. The NAS itself is wrapped in plastic to keep dust out.

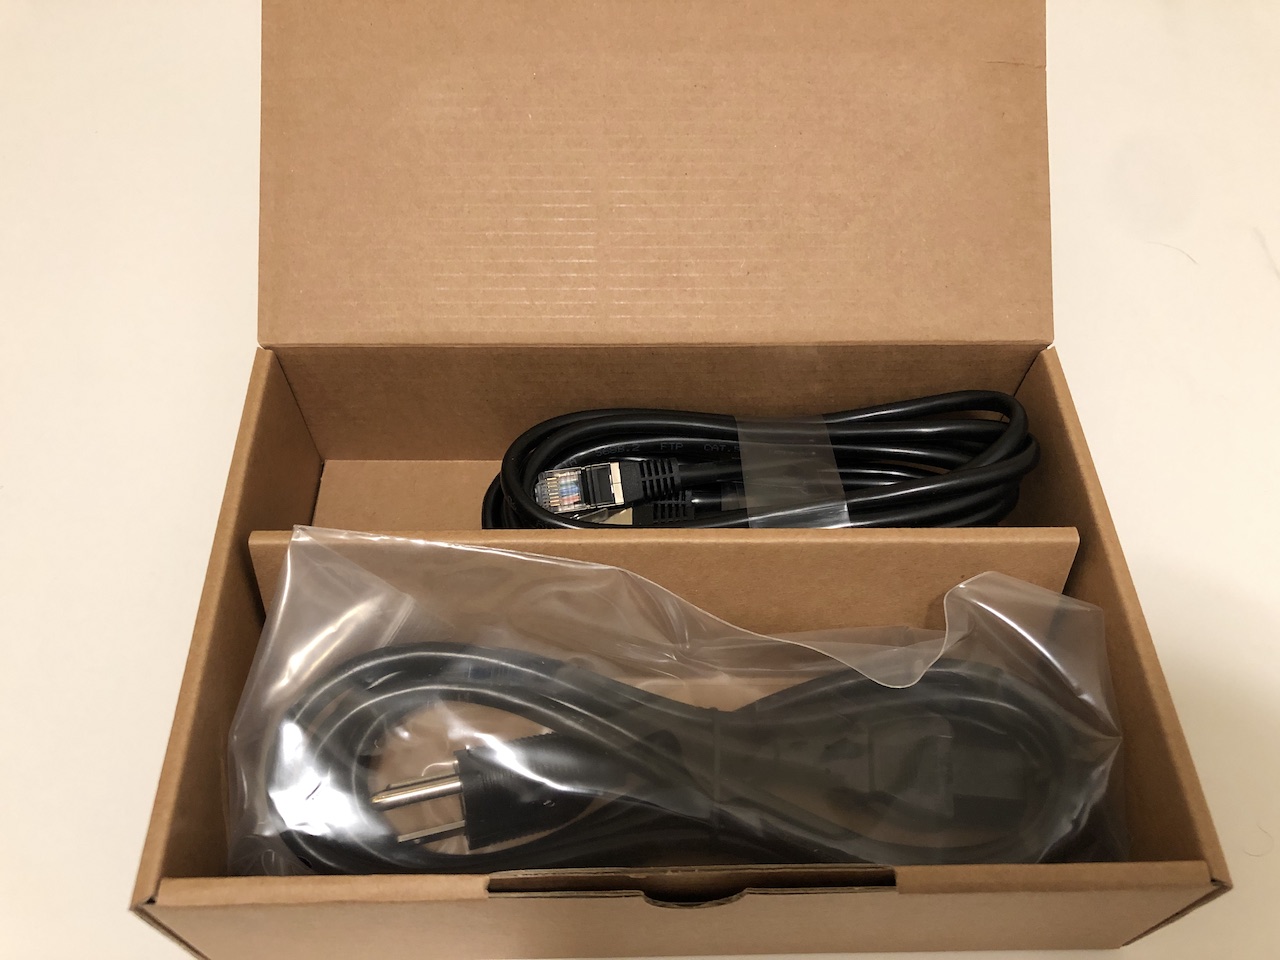
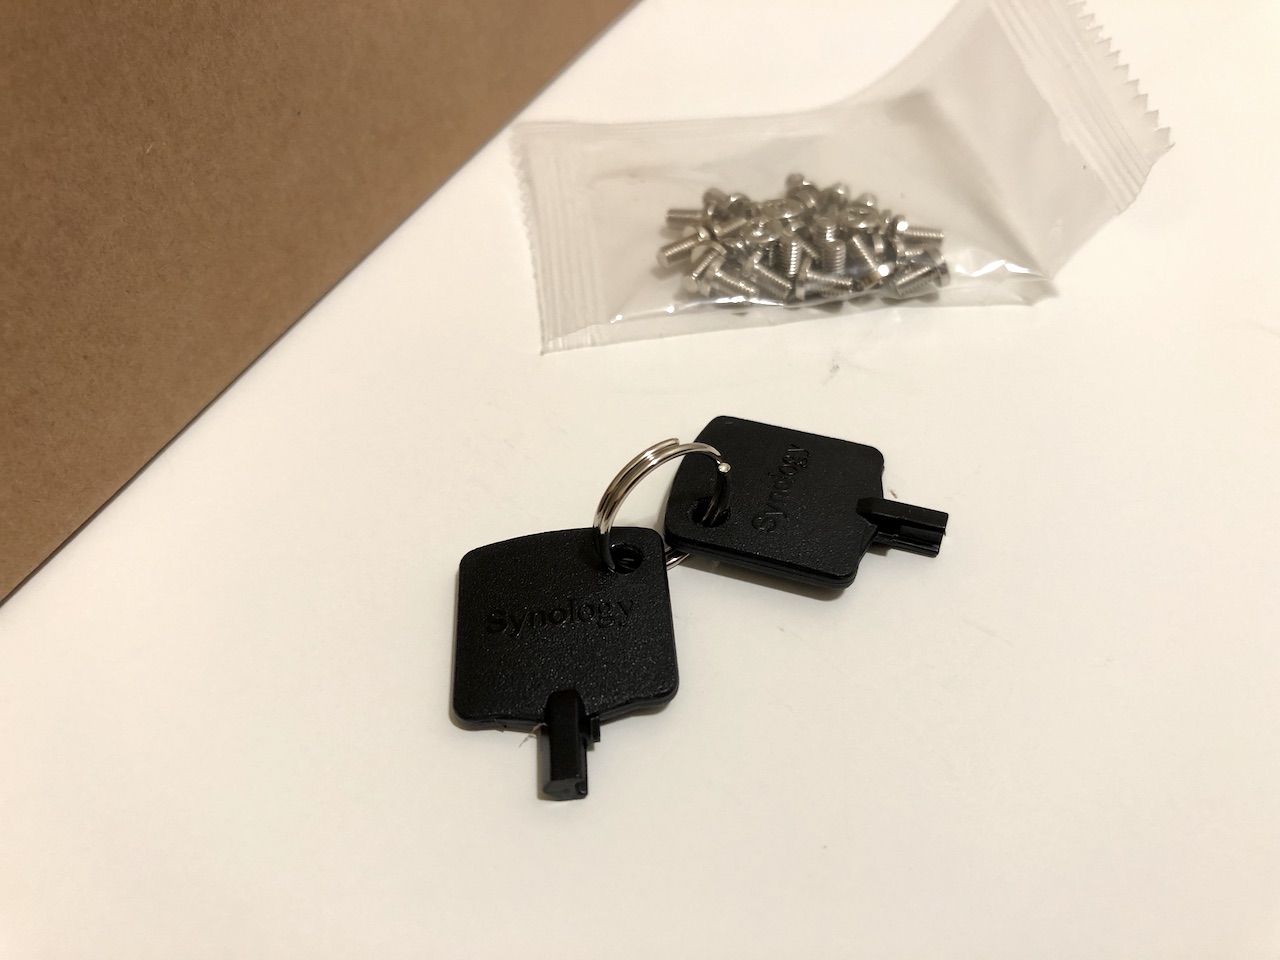
A small cardboard box includes a pair of high quality ethernet cables and a standard power cable. A small bag of screws and the drive bay keys are also contained within. From what I can see, the screws are only needed for mounting 2.5-inch drives.

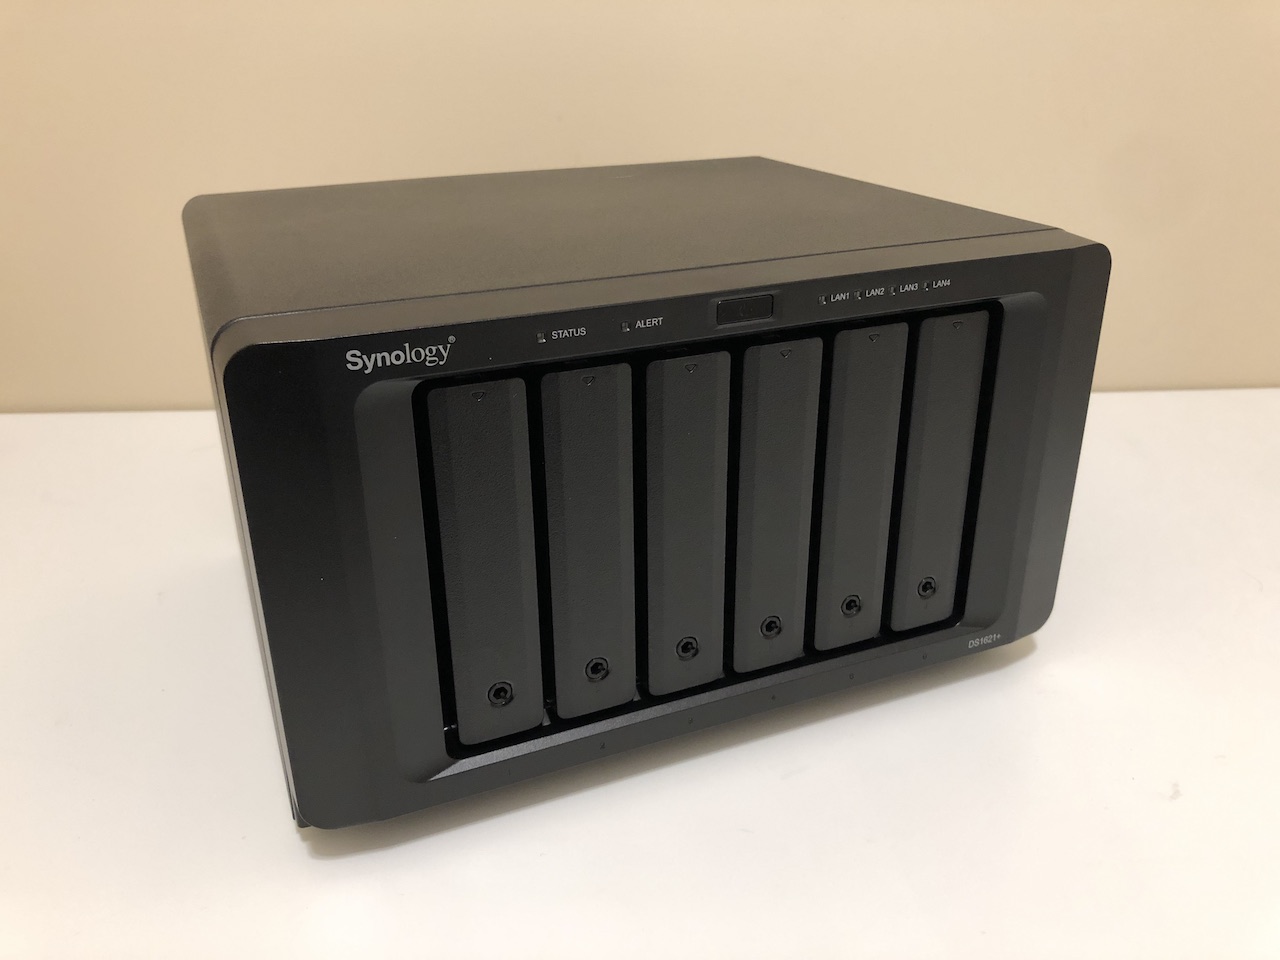
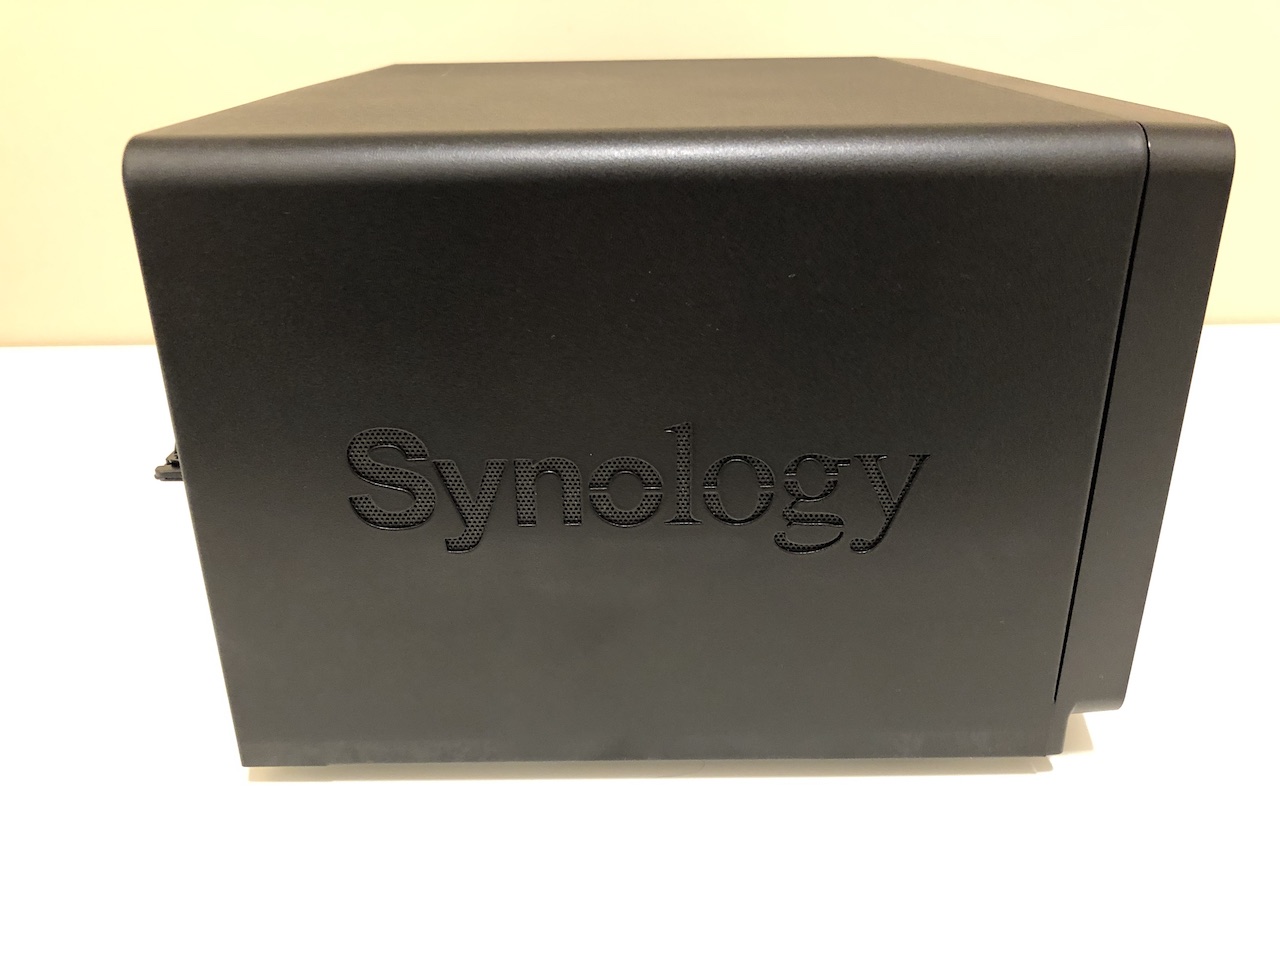
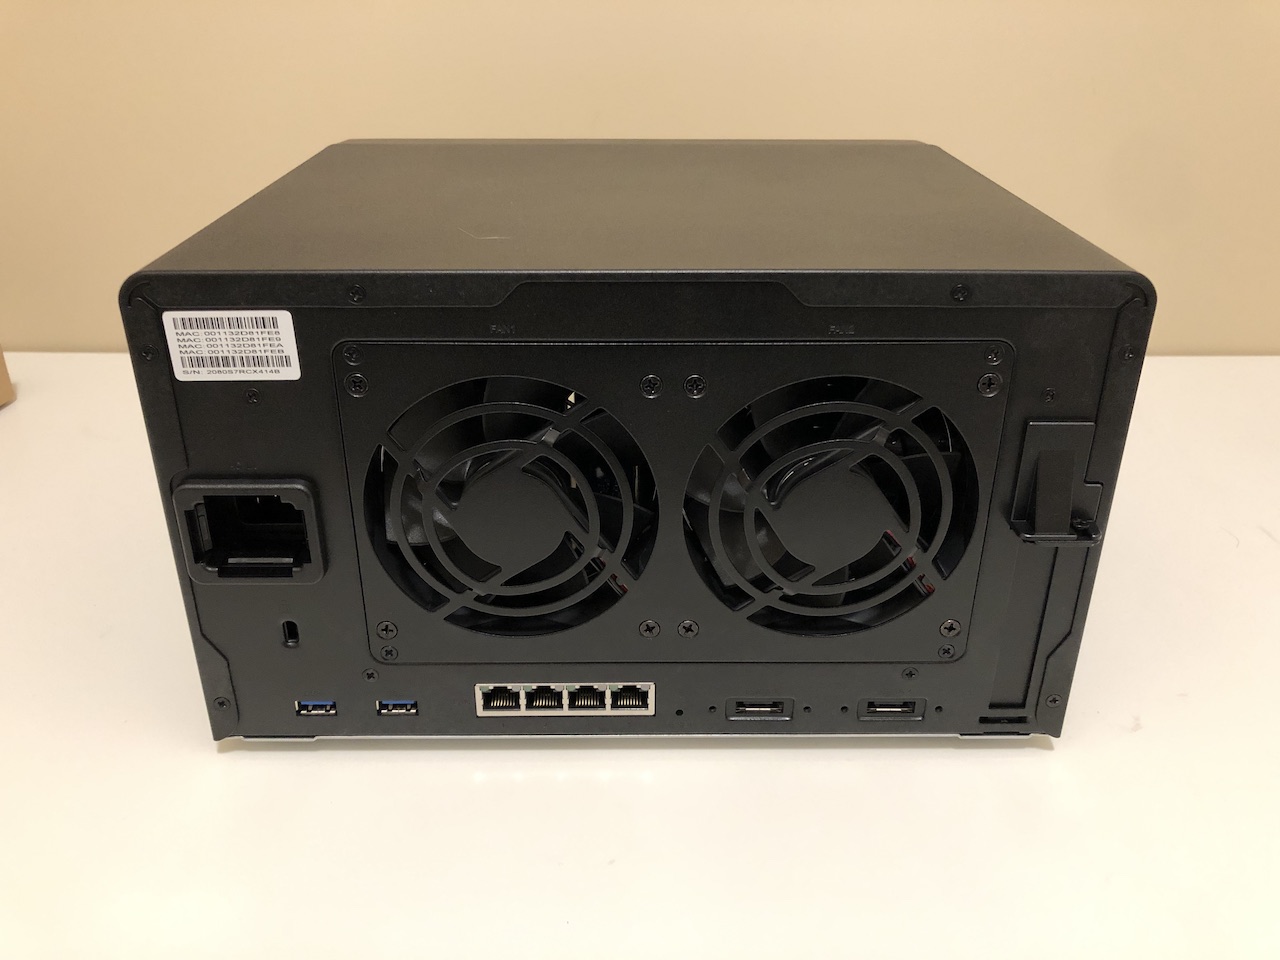
The unit itself has a heavy, high quality feel to it. The outer shell and back panel are metal and only the front panel and drive bays are constructed of plastic. Six hotswap SATA drive bays are accessible from the front of the unit. Two 92mm fans dominate the back and line up perfectly behind all six drive bays and should provide good directed airflow.

The DS1621+ includes plenty of I/O out of the box, including four GbE ports.

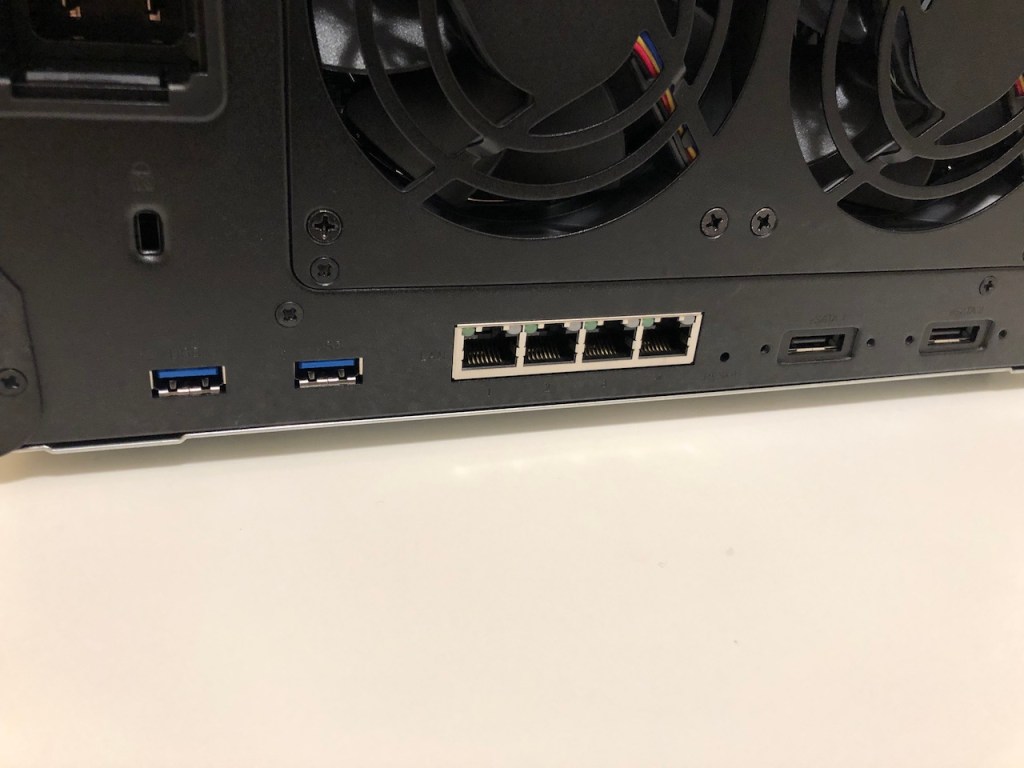
There are two USB3 ports at the rear (and one at the front) as well as four 1GbE NICs and a pair of eSATA connectors. The eSATA ports can be used for Synology’s expansion units. With two DX517s, you could have up to 16 drives in total.

The Synology HAT5200-8T 7200RPM hard drive.

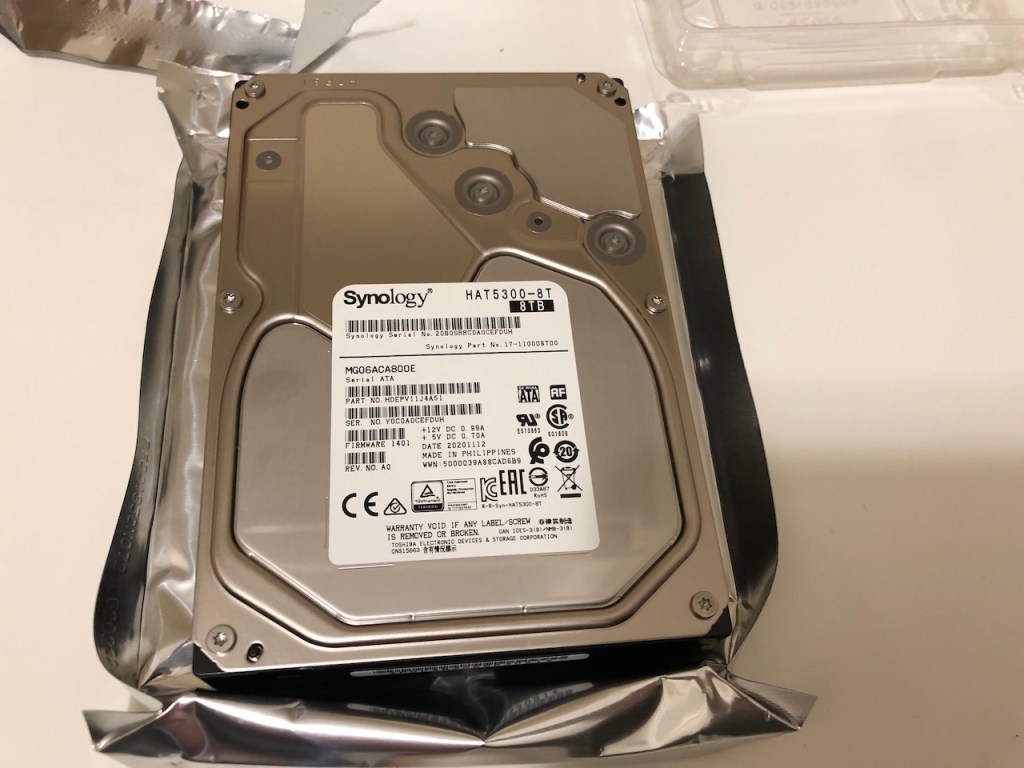
Synology was kind enough to include three of their self-branded 8TB HAT5300 mechanical drives with the NAS unit. From what I can see, these are manufactured by Toshiba and are 7200RPM models. Synology supports a large number of mechanical drives from a variety of manufacturers, but supplying their own removes the guess work that customers need to do and guarantees 100% compatibility.

Synology’s E10G21-F2 SFP+ 10Gbps NIC

Since I plan on using this NAS in my VMware home lab, 10GbE networking will be essential. Synology provided me with their brand new E10G21-F2 SFP+ card. Synology supports a pretty long list of 10Gbps NICs on some of their older NAS units, but the list is short for the DS1621+ at this time. I suspect they are still testing cards for compatibility as this NAS is still quite new. Similar to their branded HDDs, going with a Synology branded NIC ensures 100% compatibility. Synology sells 10Gbase-T models as well if you aren’t using SFP+ DACs or optics.

Continue reading “Synology DS1621+ Unboxing and Hardware Setup”

NSX-T Troubleshooting Scenario 3 – Solution

Welcome to the third instalment of a new series of NSX-T troubleshooting scenarios. Thanks to everyone who took the time to comment on the first half of the scenario. Today I’ll be performing some troubleshooting and will show how I came to the solution.

Please see the first half for more detail on the problem symptoms and some scoping.

Getting Started

As we saw in the first half, the customer’s management cluster was in a degraded state. This was due to one manager – 172.16.1.41 – being in a wonky half-broken state. Although we could ping it, we could not login and all of the services it was contributing to the NSX management cluster were down.

nsxt-tshoot3a-1

What was most telling, however, was the screenshot of the VM’s console window.

nsxt-tshoot3a-4

The most important keyword there was “Read-only file system”. As many readers had correctly guessed, this is a very common response to an underlying storage problem. Like most flavors of Linux, the Linux-based OS used in the NSX appliances will set their ext4 partitions to read-only in the event of a storage failure. This is a protective mechanism to prevent data corruption and further data loss.

When this happens, the guest may be partially functional, but anything that requires write access to the read-only partitions will obviously be in trouble. This is why we could ping the manager appliance, but all other functionality was broken. The manager cluster uses ZooKeeper for clustering services. ZooKeeper requires consistent and low-latency write access to disk. Because this wasn’t available to 172.16.1.41, it was marked as down in the cluster.

After discussing this with our fictional customer, we were able to confirm that an ESXi host esx-e3 experienced a total storage outage for a few minutes and that it had since been fixed. They had assumed it was not related because the appliance was on esx-e1, not esx-e3.

Continue reading “NSX-T Troubleshooting Scenario 3 – Solution”

NSX-T Troubleshooting Scenario 3

It’s been a while since I’ve posted anything, so what better way to get back into the swing of things than a troubleshooting scenario! These last few months I’ve been busy learning the ropes in my new role as an SRE supporting NSX and VMware Cloud on AWS. Hopefully I’ll be able to start releasing regular content again soon.

Welcome to the third NSX-T troubleshooting scenario! What I hope to do in these posts is share some of the common issues I run across from day to day. Each scenario will be a two-part post. The first will be an outline of the symptoms and problem statement along with bits of information from the environment. The second will be the solution, including the troubleshooting and investigation I did to get there.

The Scenario

As always, we’ll start with a fictional customer problem statement:

“I’m not experiencing any problems, but I noticed that my NSX-T 2.4.1 manager cluster is in a degraded state. One of the unified appliances appears to be down. I can ping it just fine, but I can’t seem to login to the appliance via SSH. I’m sure I’m putting in the right password, but it won’t let me in. I’m not sure what’s going on. Please help!”

From the NSX-T Overview page, we can see that one appliance is red.

nsxt-tshoot3a-2

Let’s have a look at the management cluster in the UI:

nsxt-tshoot3a-1

The problematic manager is 172.16.1.41. It’s reporting its cluster connectivity as ‘Down’ despite being reachable via ping. It appears that all of the services including controller related services are down for this appliance as well.

nsxt-tshoot3a-3

Strangely, it doesn’t appear to be accepting the admin or root passwords via SSH. We always get an ‘Access Denied’ response. We can login successfully to the other two appliances without issue using the same credentials.

Opening a console window to 172.16.1.41 greets us with the following:

nsxt-tshoot3a-4

Error messages appear to continually scroll by from system-journald mentioning “Failed to write entry”. Hitting enter gives us the login prompt, but we immediately get the same error messages and can’t login.

What’s Next

It seems pretty clear that there is something wrong with 172.16.1.41, but what may have caused this problem? How would you fix this and most importantly, how can you root cause this?

I’ll post the solution in the next day or two, but how would you handle this scenario? Let me know! Please feel free to leave a comment below or via Twitter (@vswitchzero).

Properly Removing a LUN/Datastore in vSphere

Taking the time to remove LUNs correctly is worth the effort and prevents all sorts of complications.

This is admittedly a well-covered topic in both the VMware public documentation and in blogs, but I thought I’d provide my perspective on this as well in case it may help others. Unfortunately, improper LUN removal is still something I encountered all too often when I worked in GSS years back.

Having done a short stint on the VMware storage support team, I knew all too well the chaos that would ensue after improper LUN decommissioning. ESX 4.x was particularly bad when it came to handling unexpected storage loss. Often hosts would become unmanageable and reboots were the only way to recover. Today, things are quite different. VMware has made many strides in these areas, including better host resiliency in the face of APD (all paths down) events, as well as introducing PDL (permenant device loss) several years back. Despite these improvements, you still don’t want to yank storage out from under your hypervisors.

Today, I’ll be decommissioning an SSD drive from my freenas server, which will require me to go through these steps.

Update: Below is a recent (2021) video I did on the process in vSphere 7.0:

Step 1 – Evacuate!

Before you even consider nuking a LUN from your SAN, you’ll want to ensure all VMs, templates and files have been migrated off. The easiest way to do this is to navigate to the ‘Storage’ view in the Web Client, and then select the datastore in question. From there, you can click the VMs tab. If you are running 5.5 or 6.0, you may need to go to ‘Related Objects’ first, and then Virtual Machines.

lunremove-1
One VM still resides on shared-ssd0. It’ll need to be migrated off.

In my case, you can see that the datastore shared-ssd still has a VM on it that will need to be migrated. I was able to use Storage vMotion without interrupting the guest.

lunremove-2
It’s easy to forget about templates as they aren’t visible in the default datastore view. Be sure to check for them as well.

Templates do not show up in the normal view, so be sure to check specifically for these as well. Remember, you can’t migrate templates. You’ll need to convert them to VMs first, then migrate them and convert them back to templates. I didn’t care about this one, so just deleted it from disk.

Continue reading “Properly Removing a LUN/Datastore in vSphere”